Logic Pro X - Video Tutorial 16 - Editing Audio in the File Editor (aka Sample Editor)
- Edits are desctructive
- Handy "transient mode" button
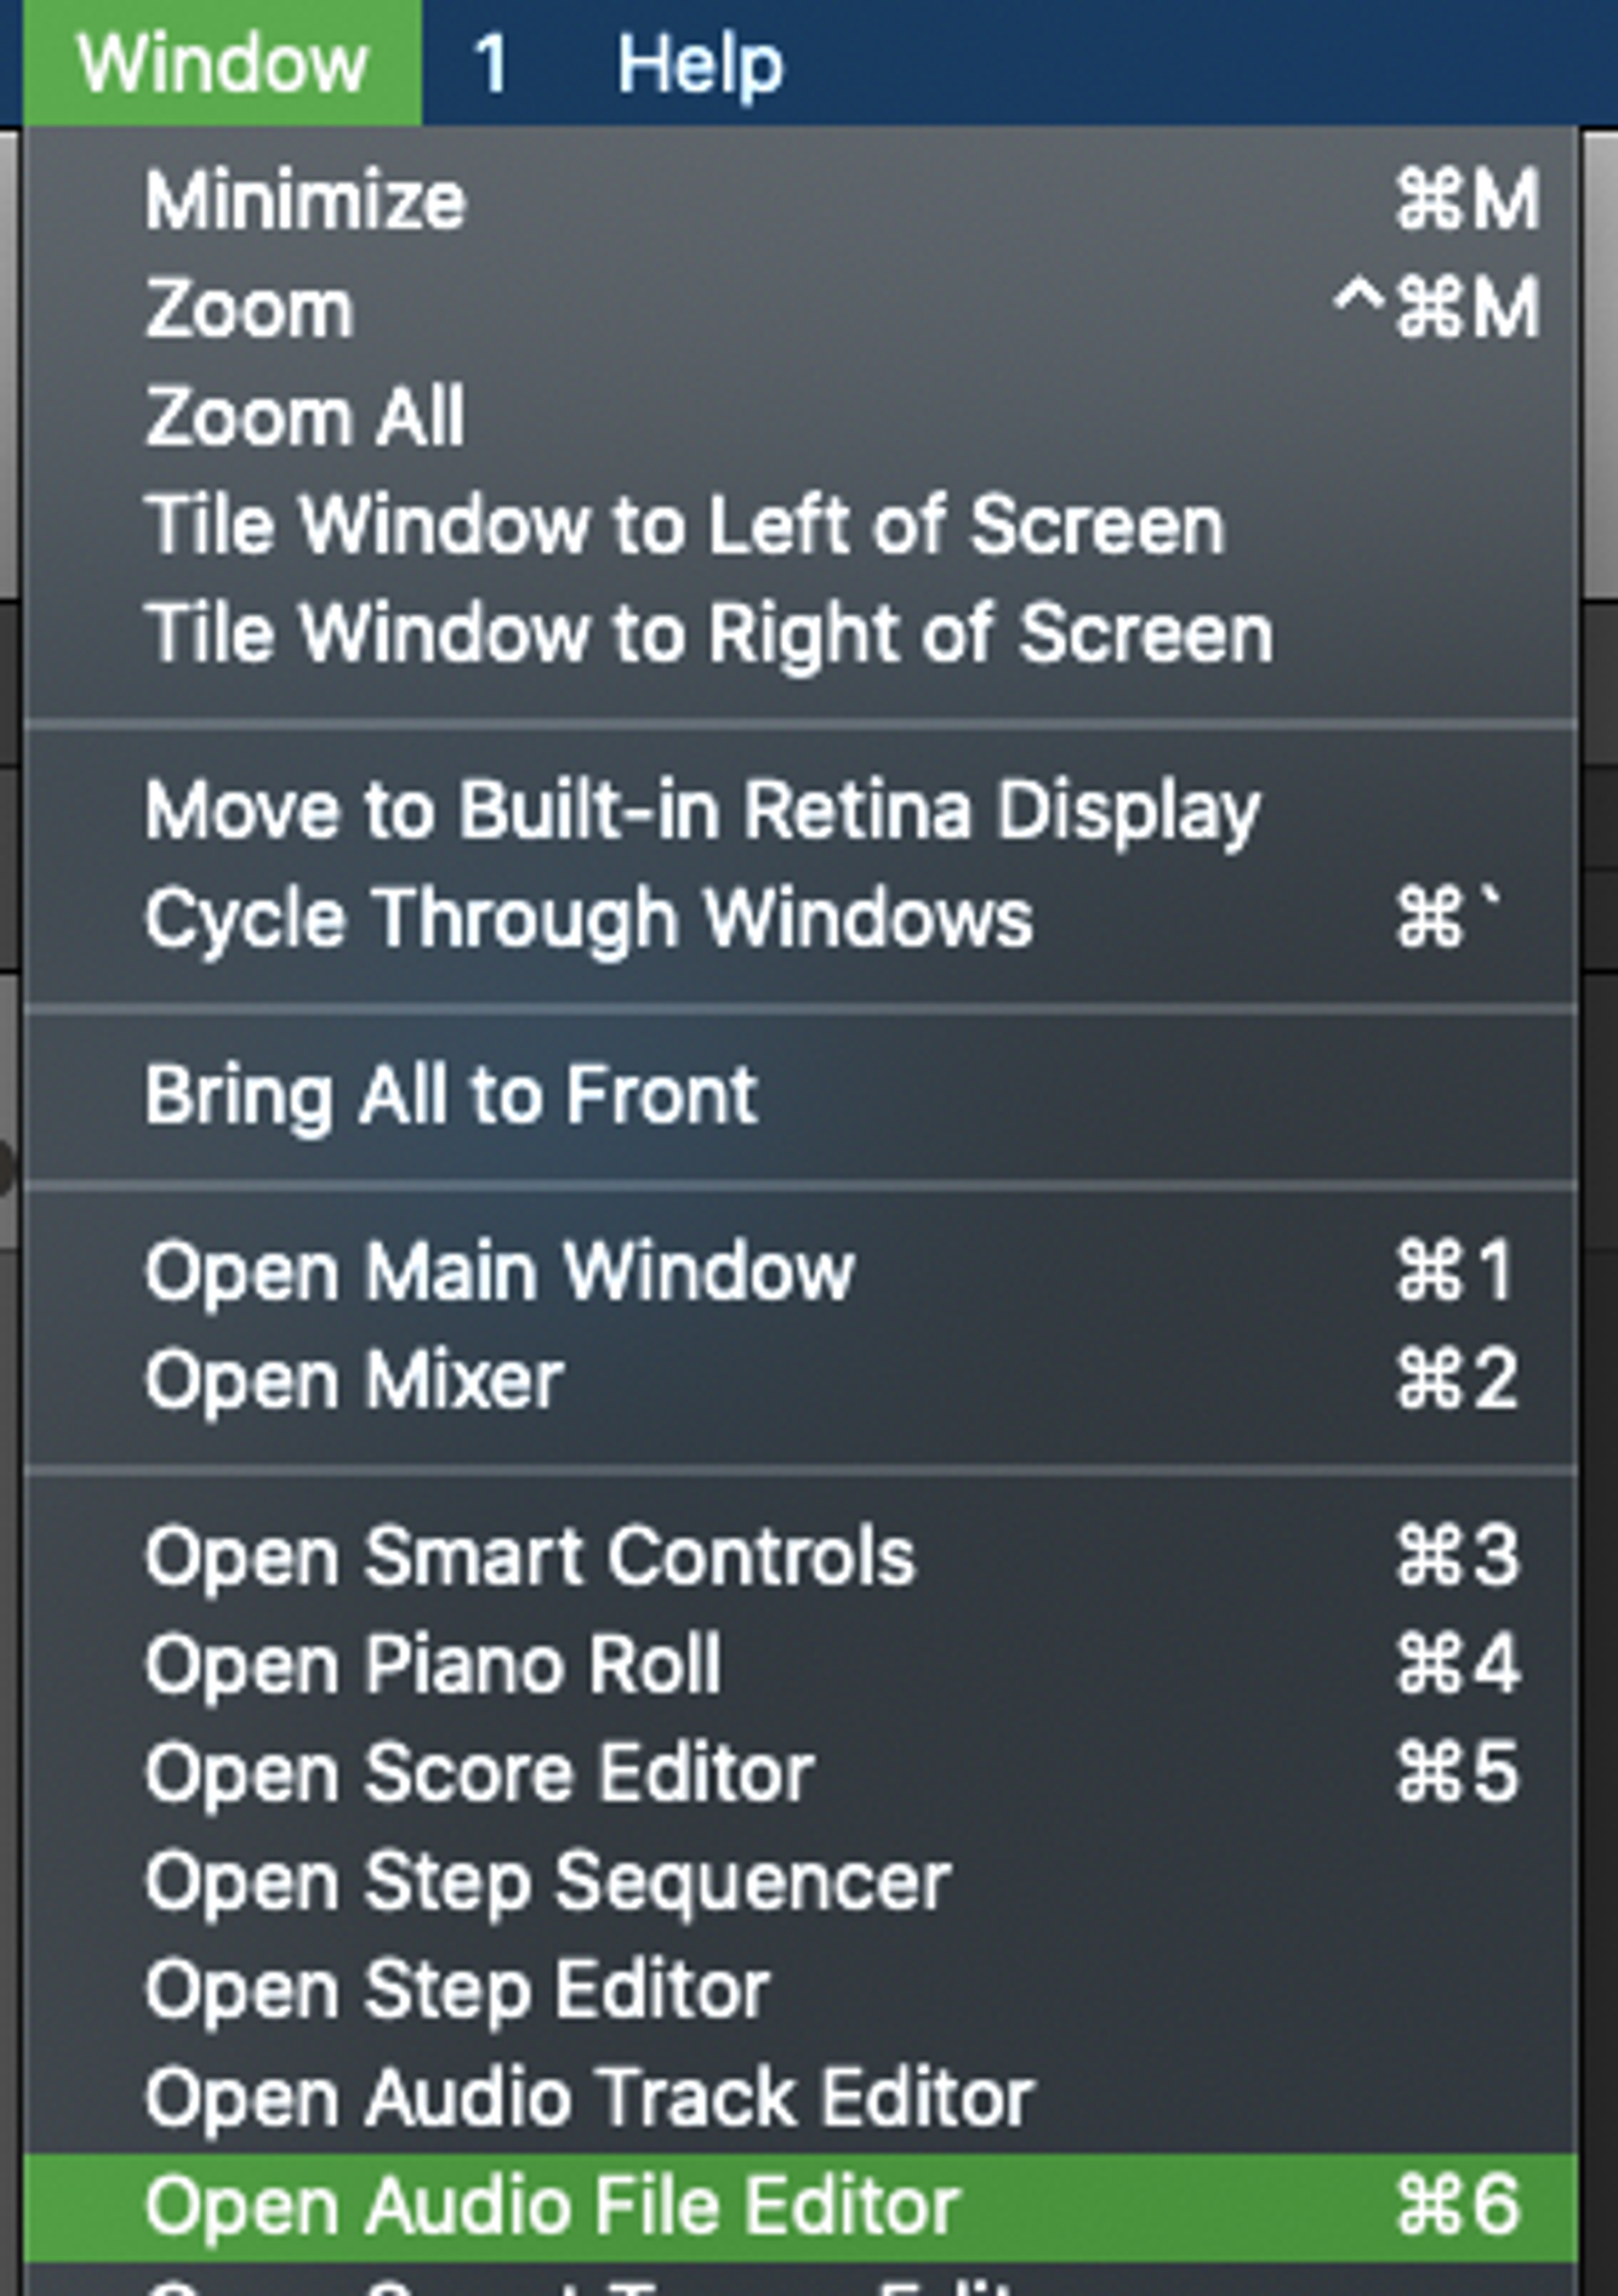
- Cmd-6
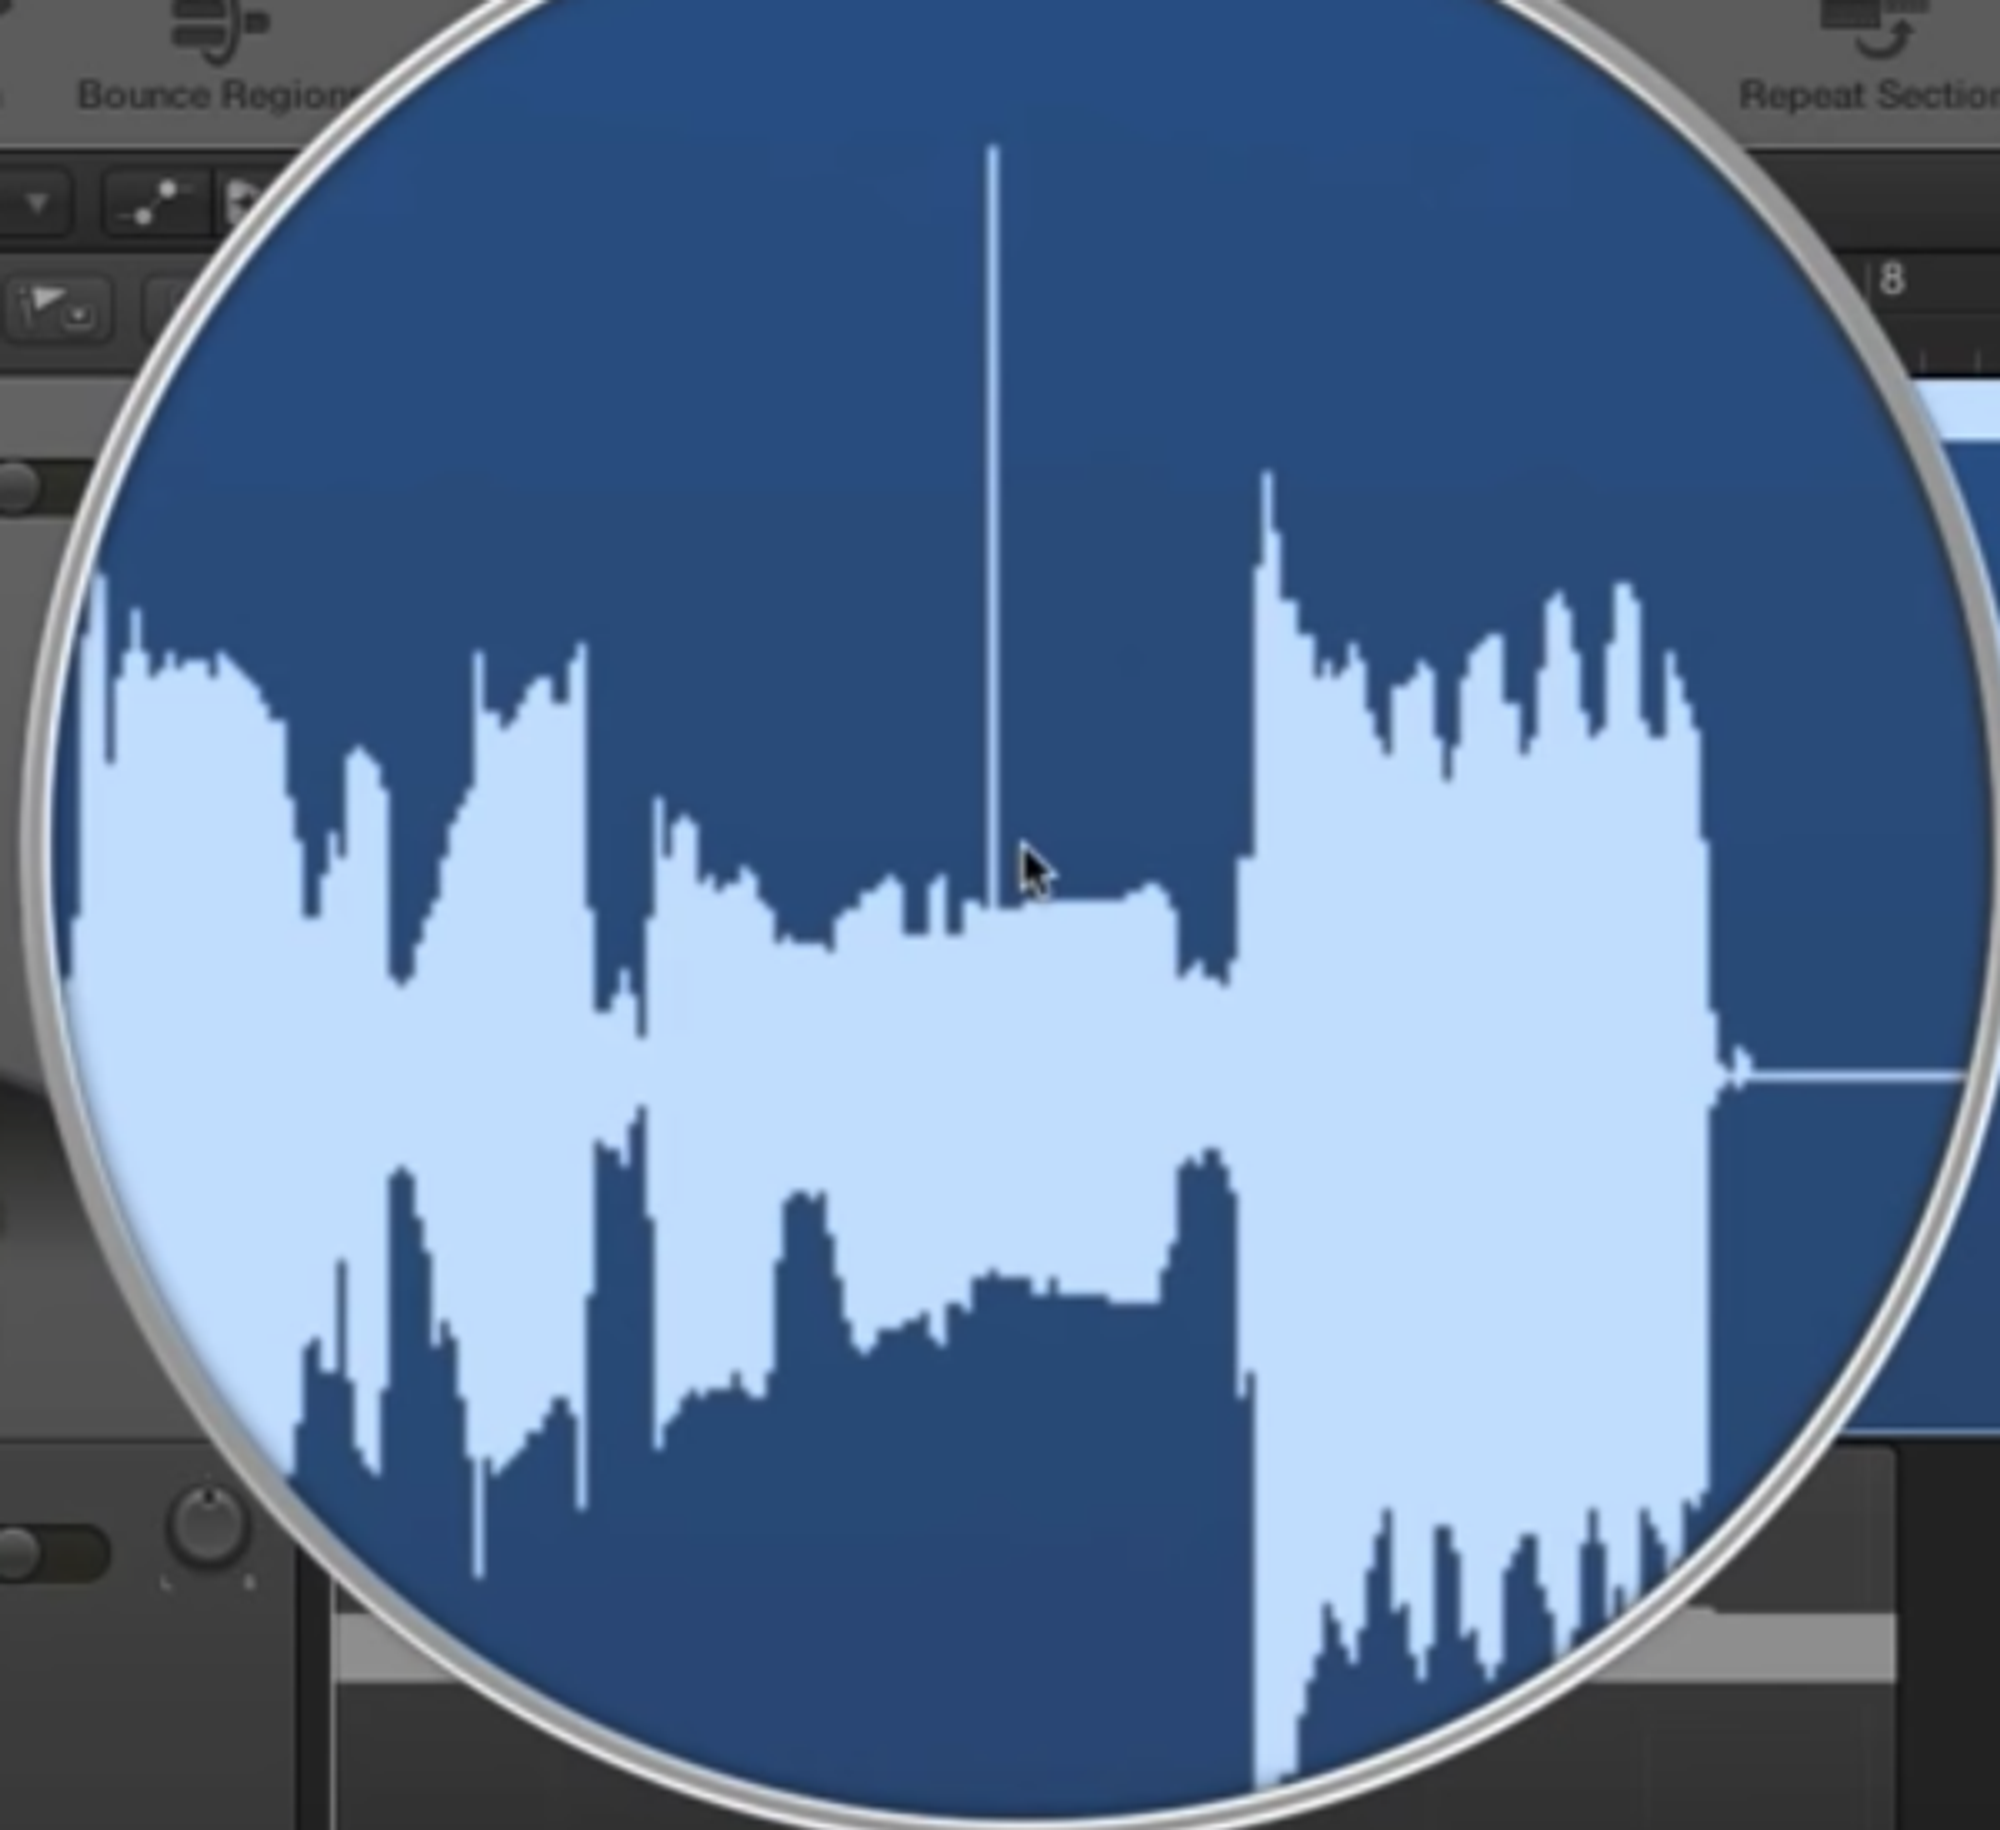
- Pencil tool lets you re-draw the waveform, so you could remove an unwanted "pop"
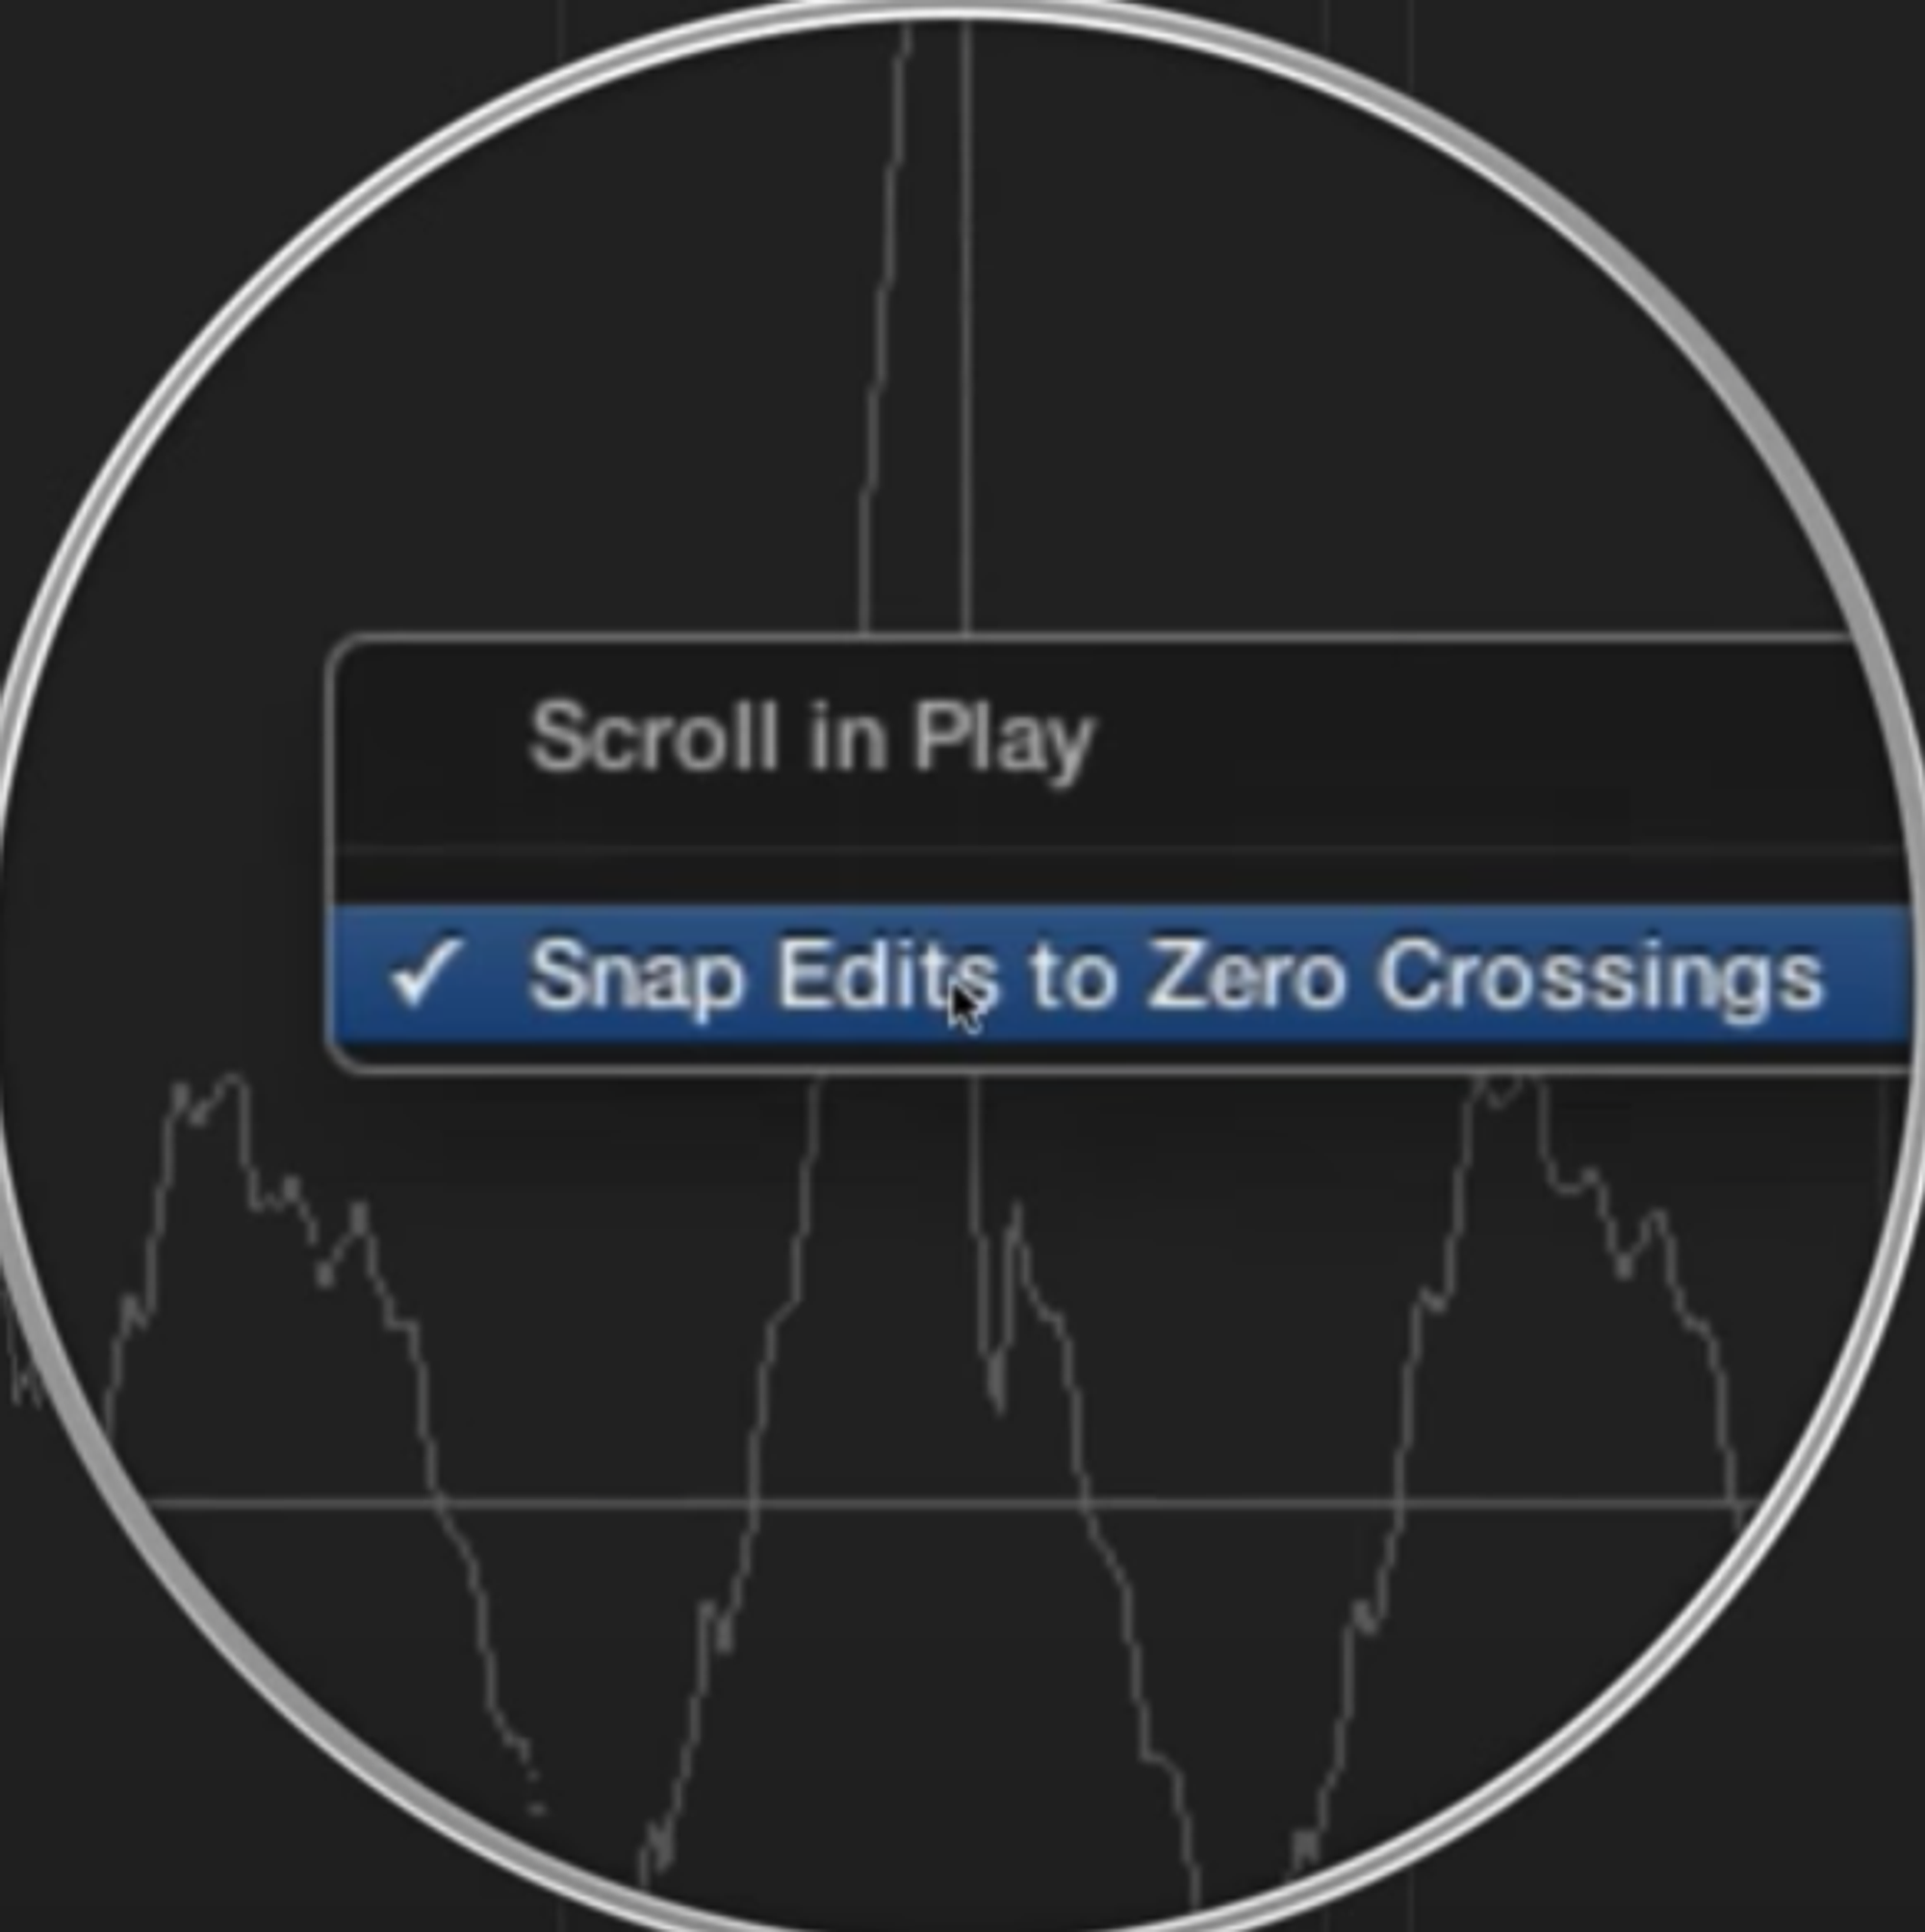
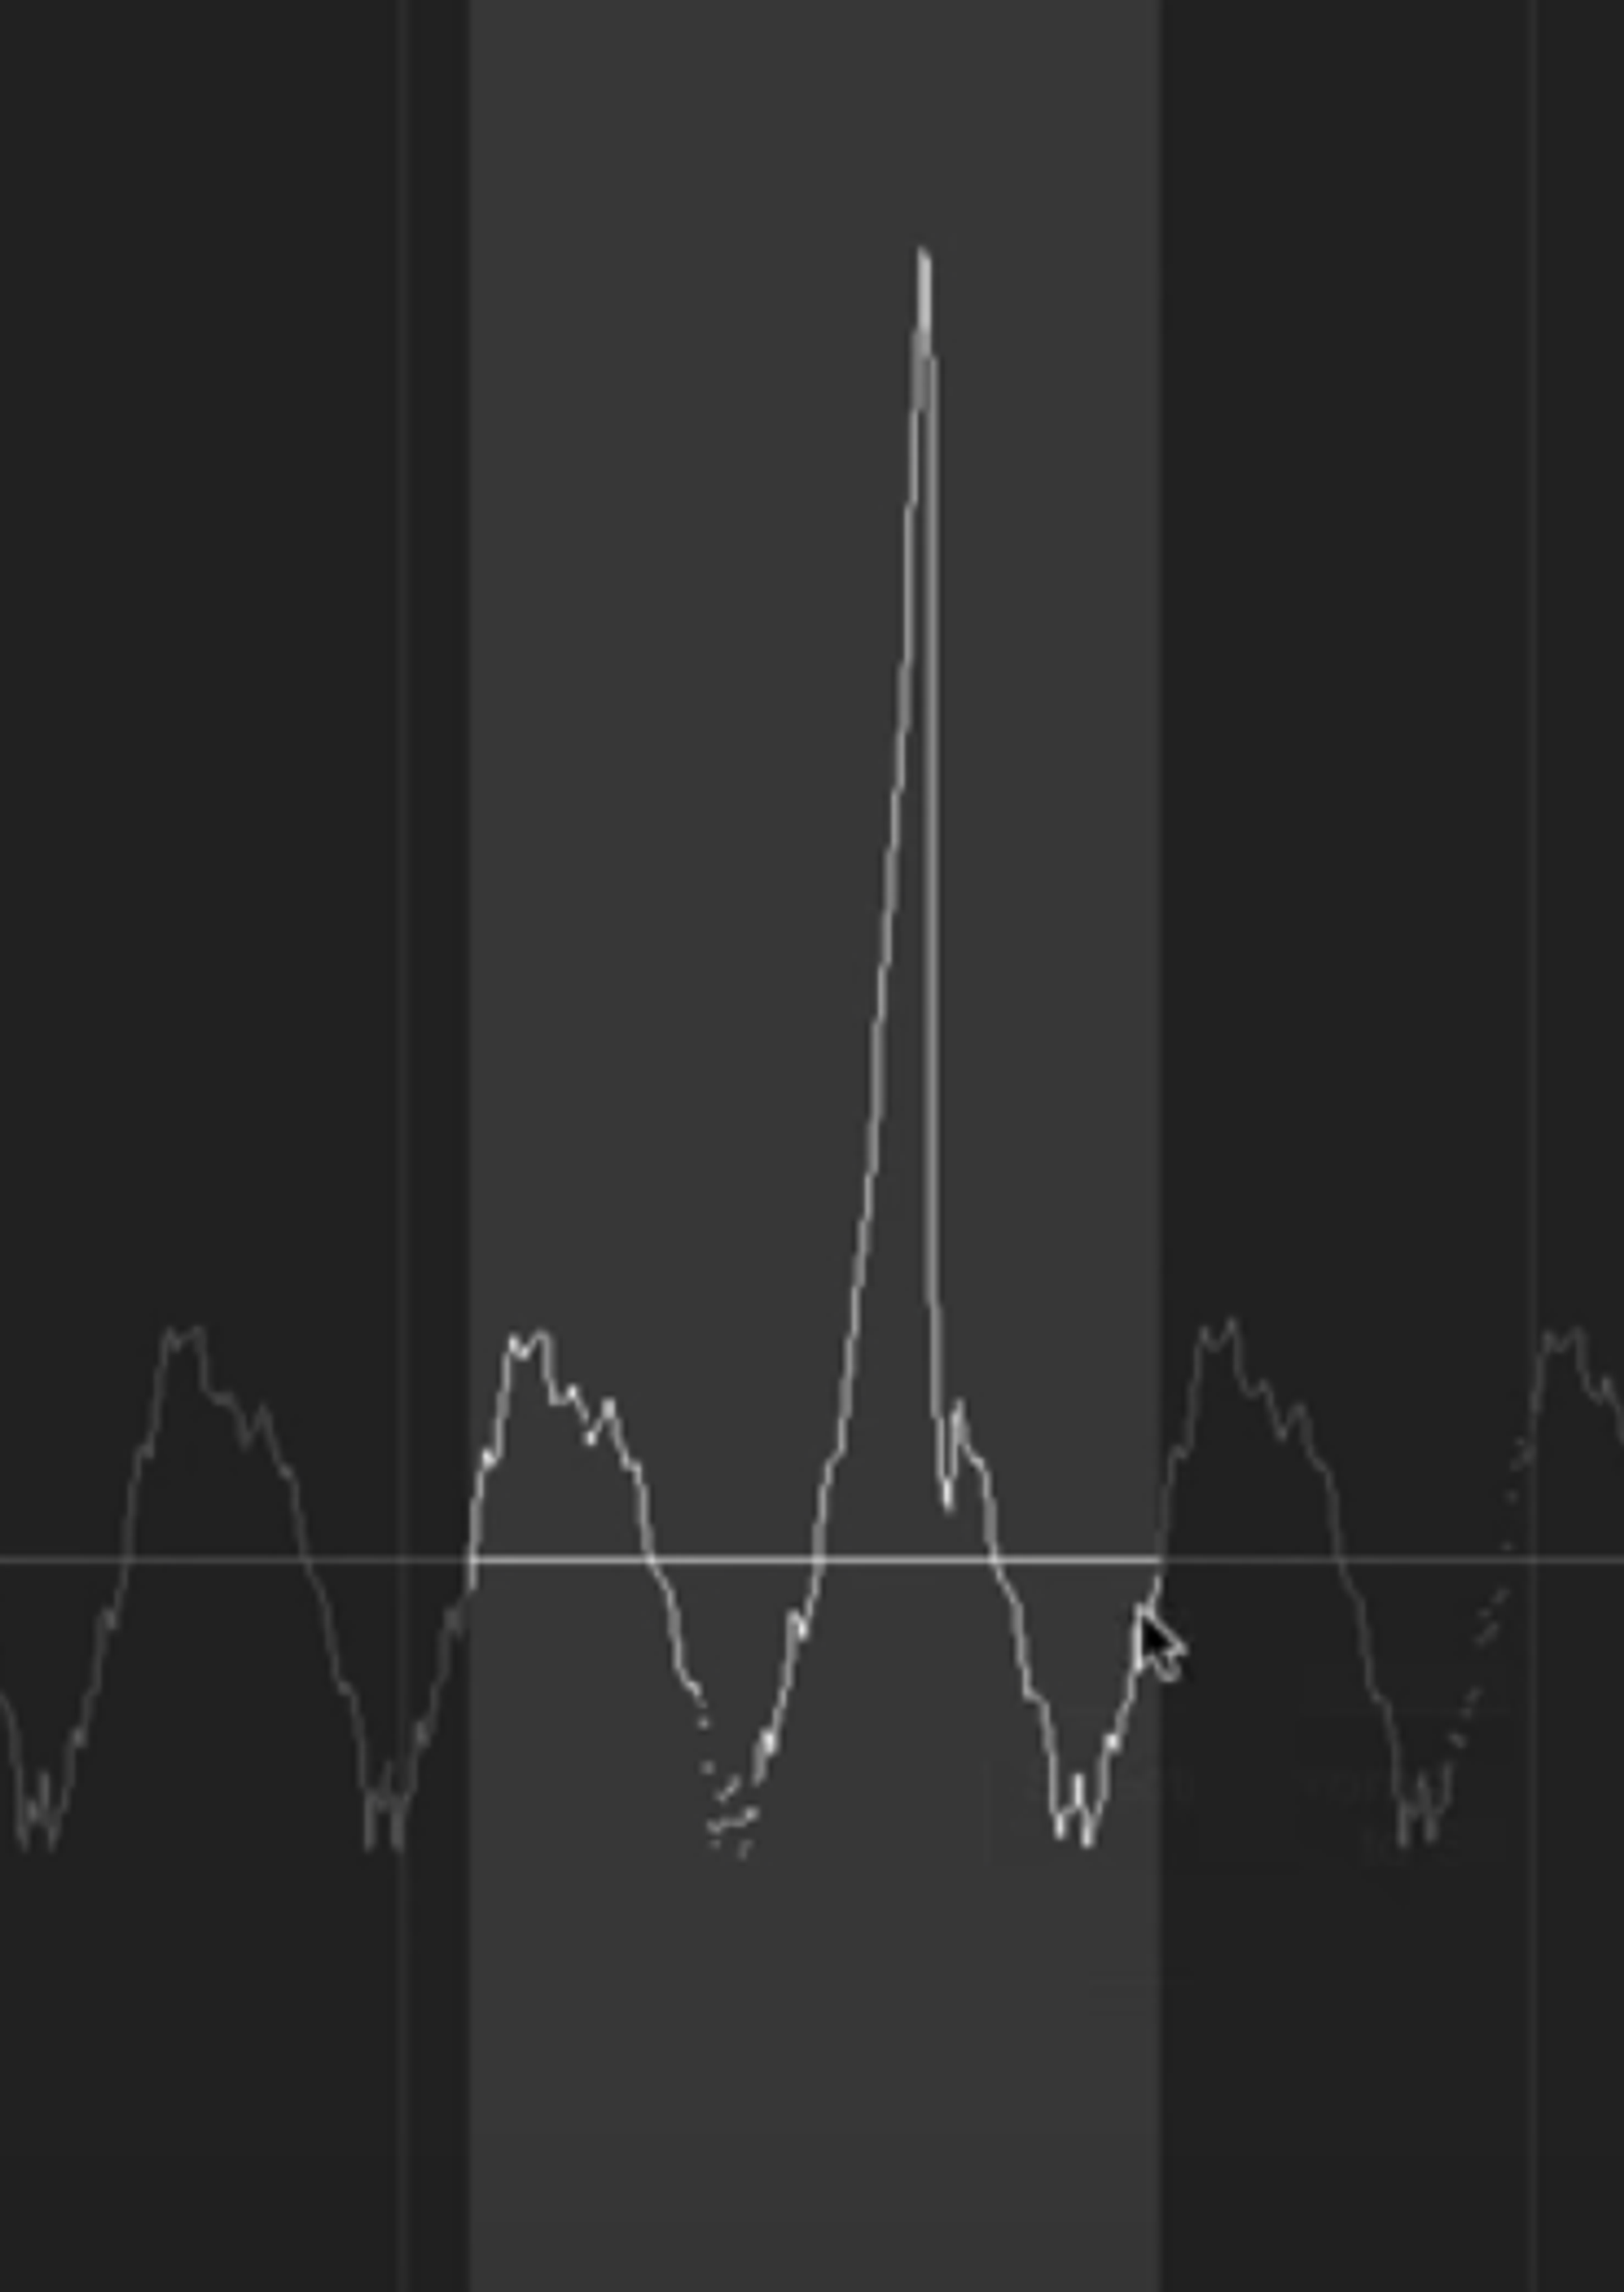
Alternatively, just delete a tiny segment of the wave form around the blip… but be sure to have "Snap Edits to Zero Crossings" turned on.
- Reverse a cymbal sound with Functions > Reverse.
- Change anchor point to make the cymbal line up with the beat of the song. The anchor point is the point of the clip that snaps to the grid (when we have snap turned on). Drag anchor to move.

- In arrangement view, the anchor is denoted by a little black dot
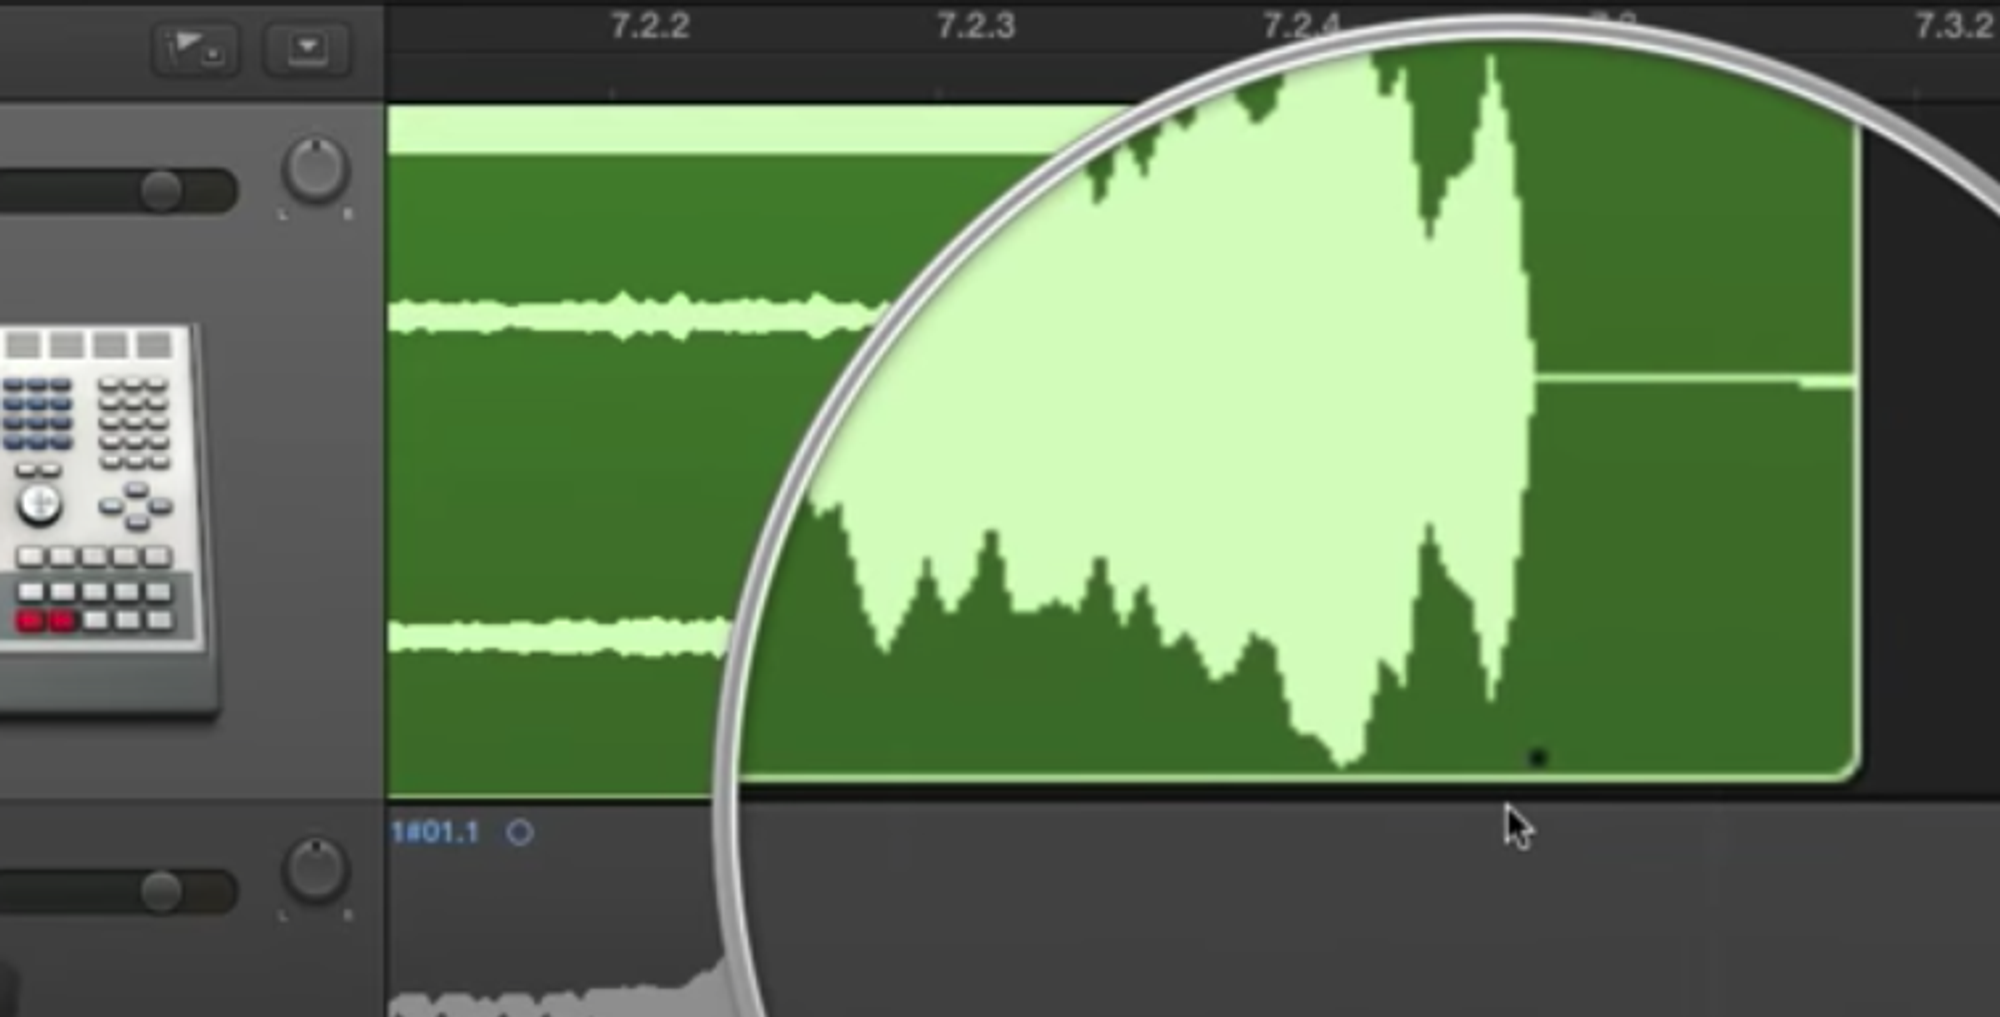
Functions > Silence removes the audio in the highlighted section, without shuffling the parts left and right.
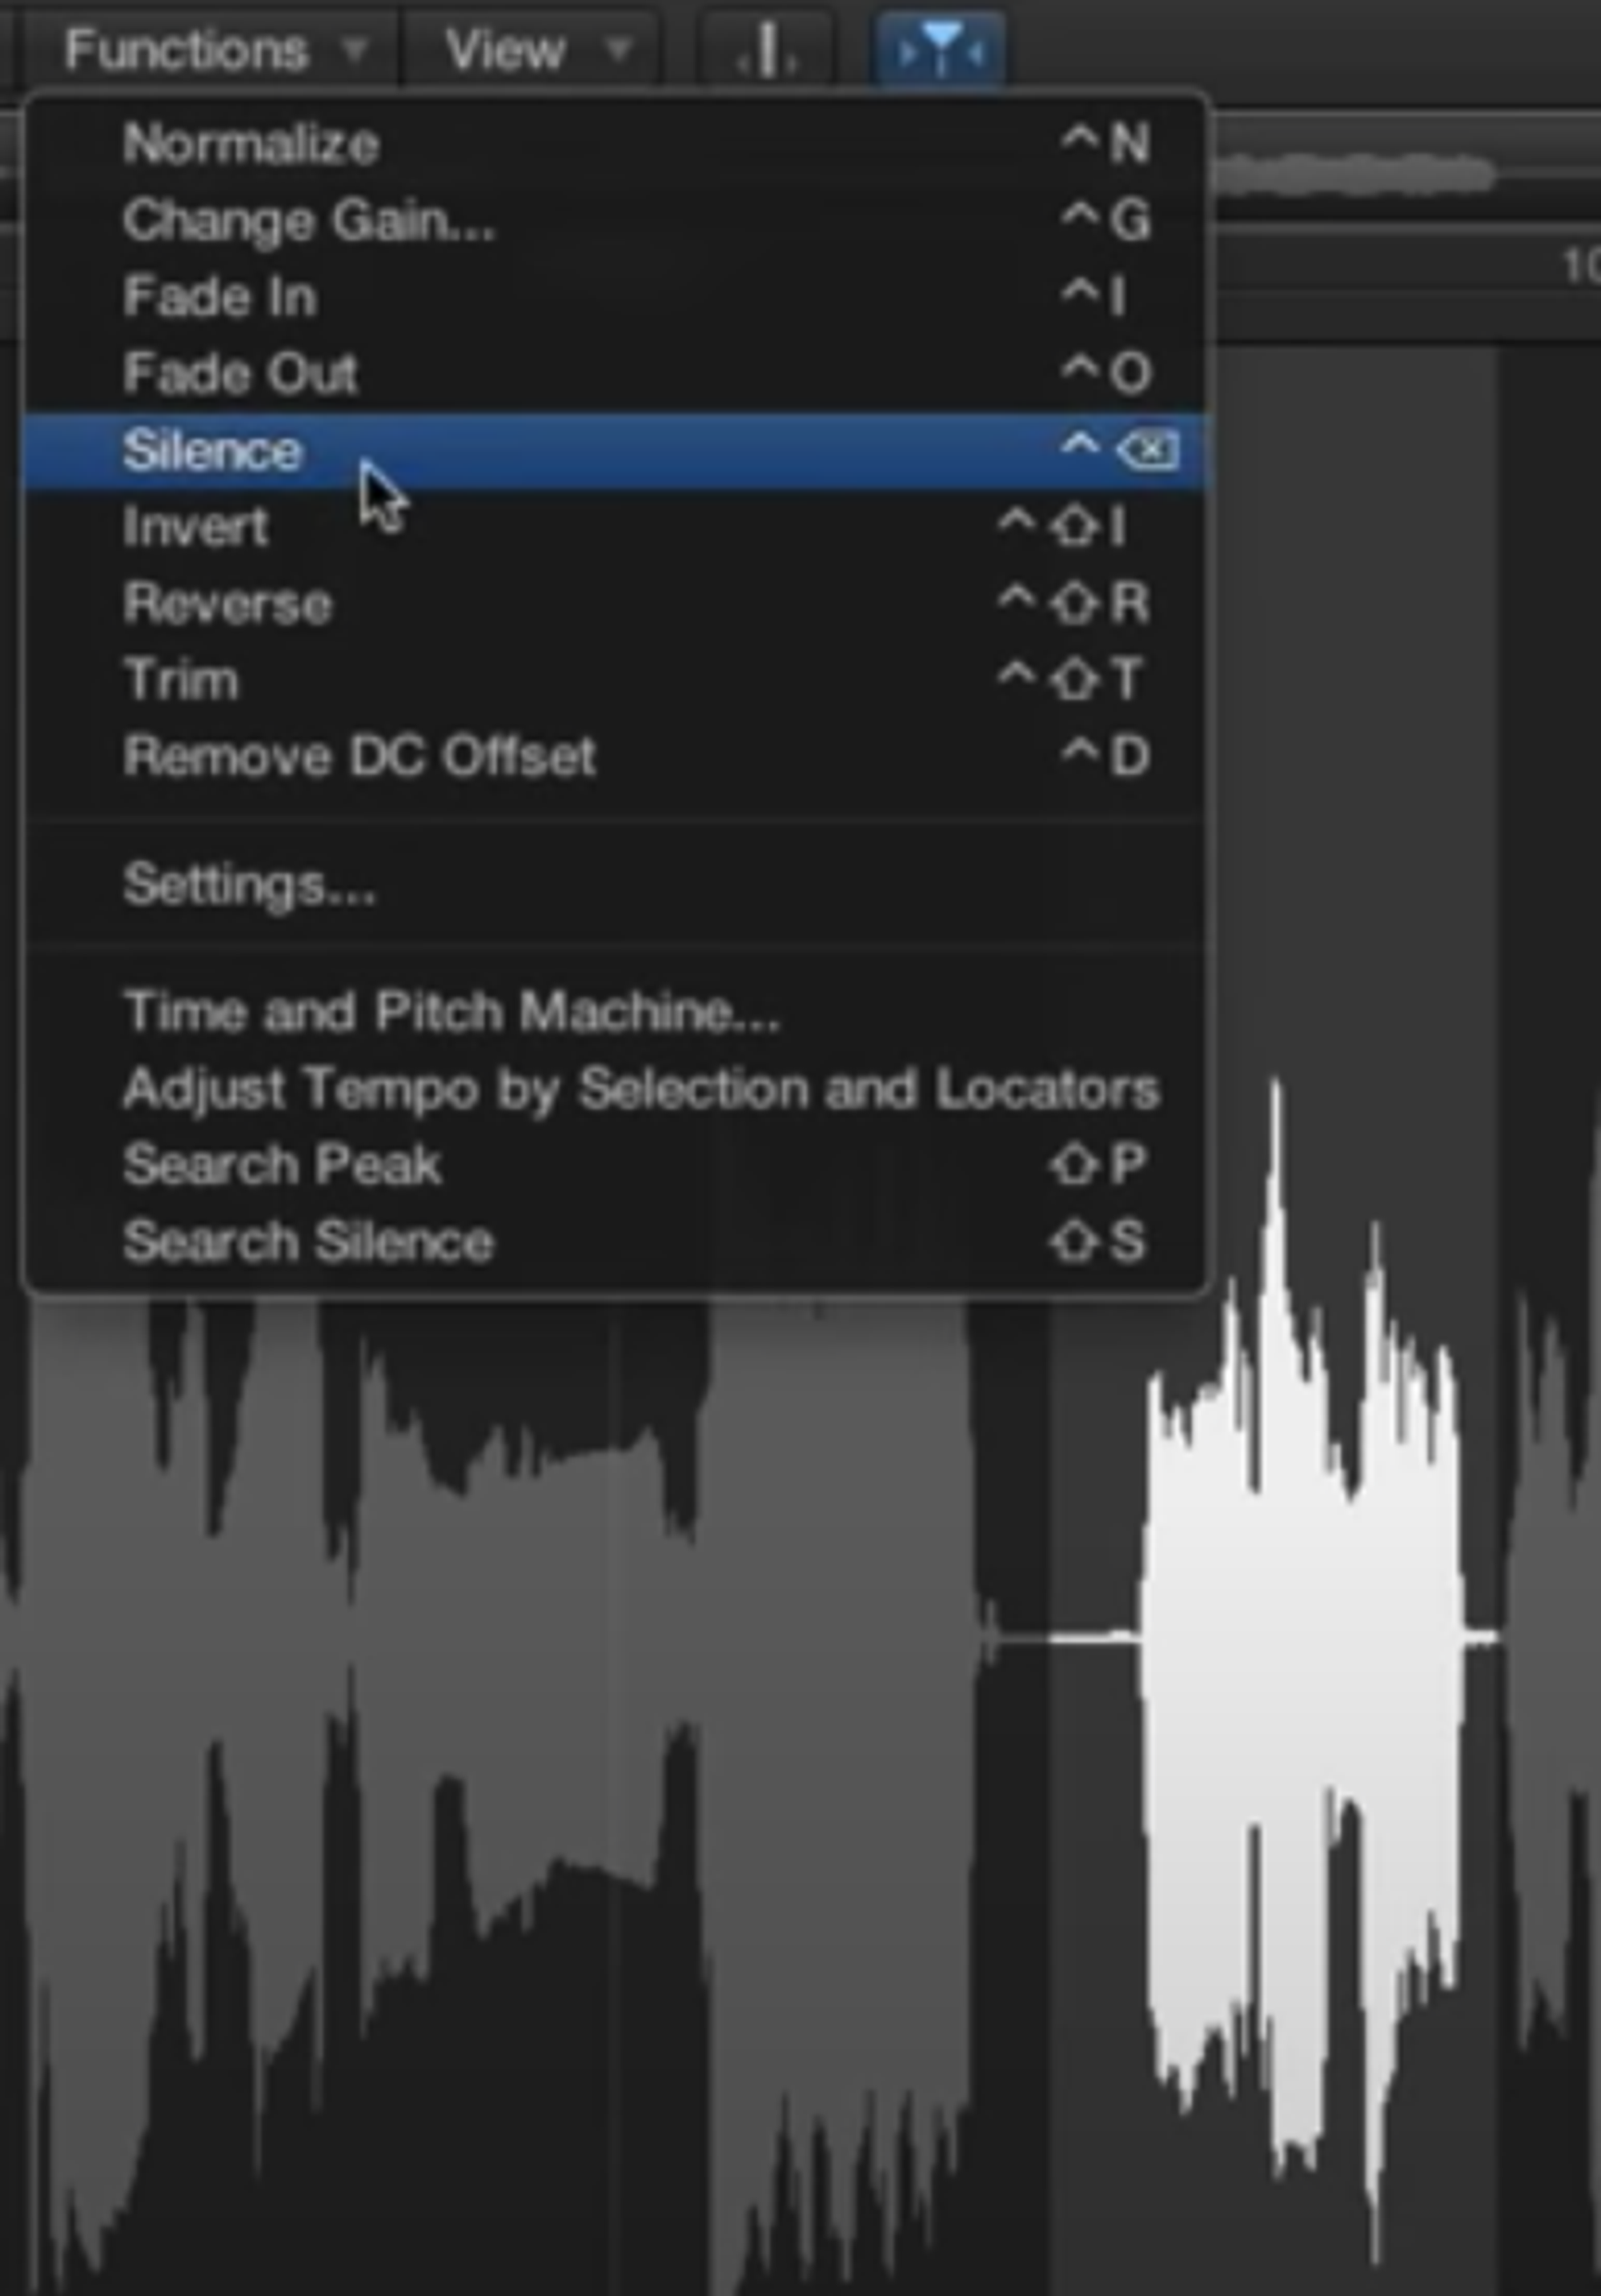

- Remove DC offset is a special function if your recording equipments causes the wave form to not be centered about zero, for some reason.
Logic Pro X - Video Tutorial 17 - Isolate or Remove Vocals from a Song with Phase Cancellation
"Invert" function to invert the phase and do noise cancellation
One way to isolate vocals (starting @7:30):
- If you have a stereo recording, assume voices are in the center, and all the instruments are panned slightly left and right.
- Split the left and right into two mono channels. This is clumsy in Logic: bounce with File type: split (not interleaved).

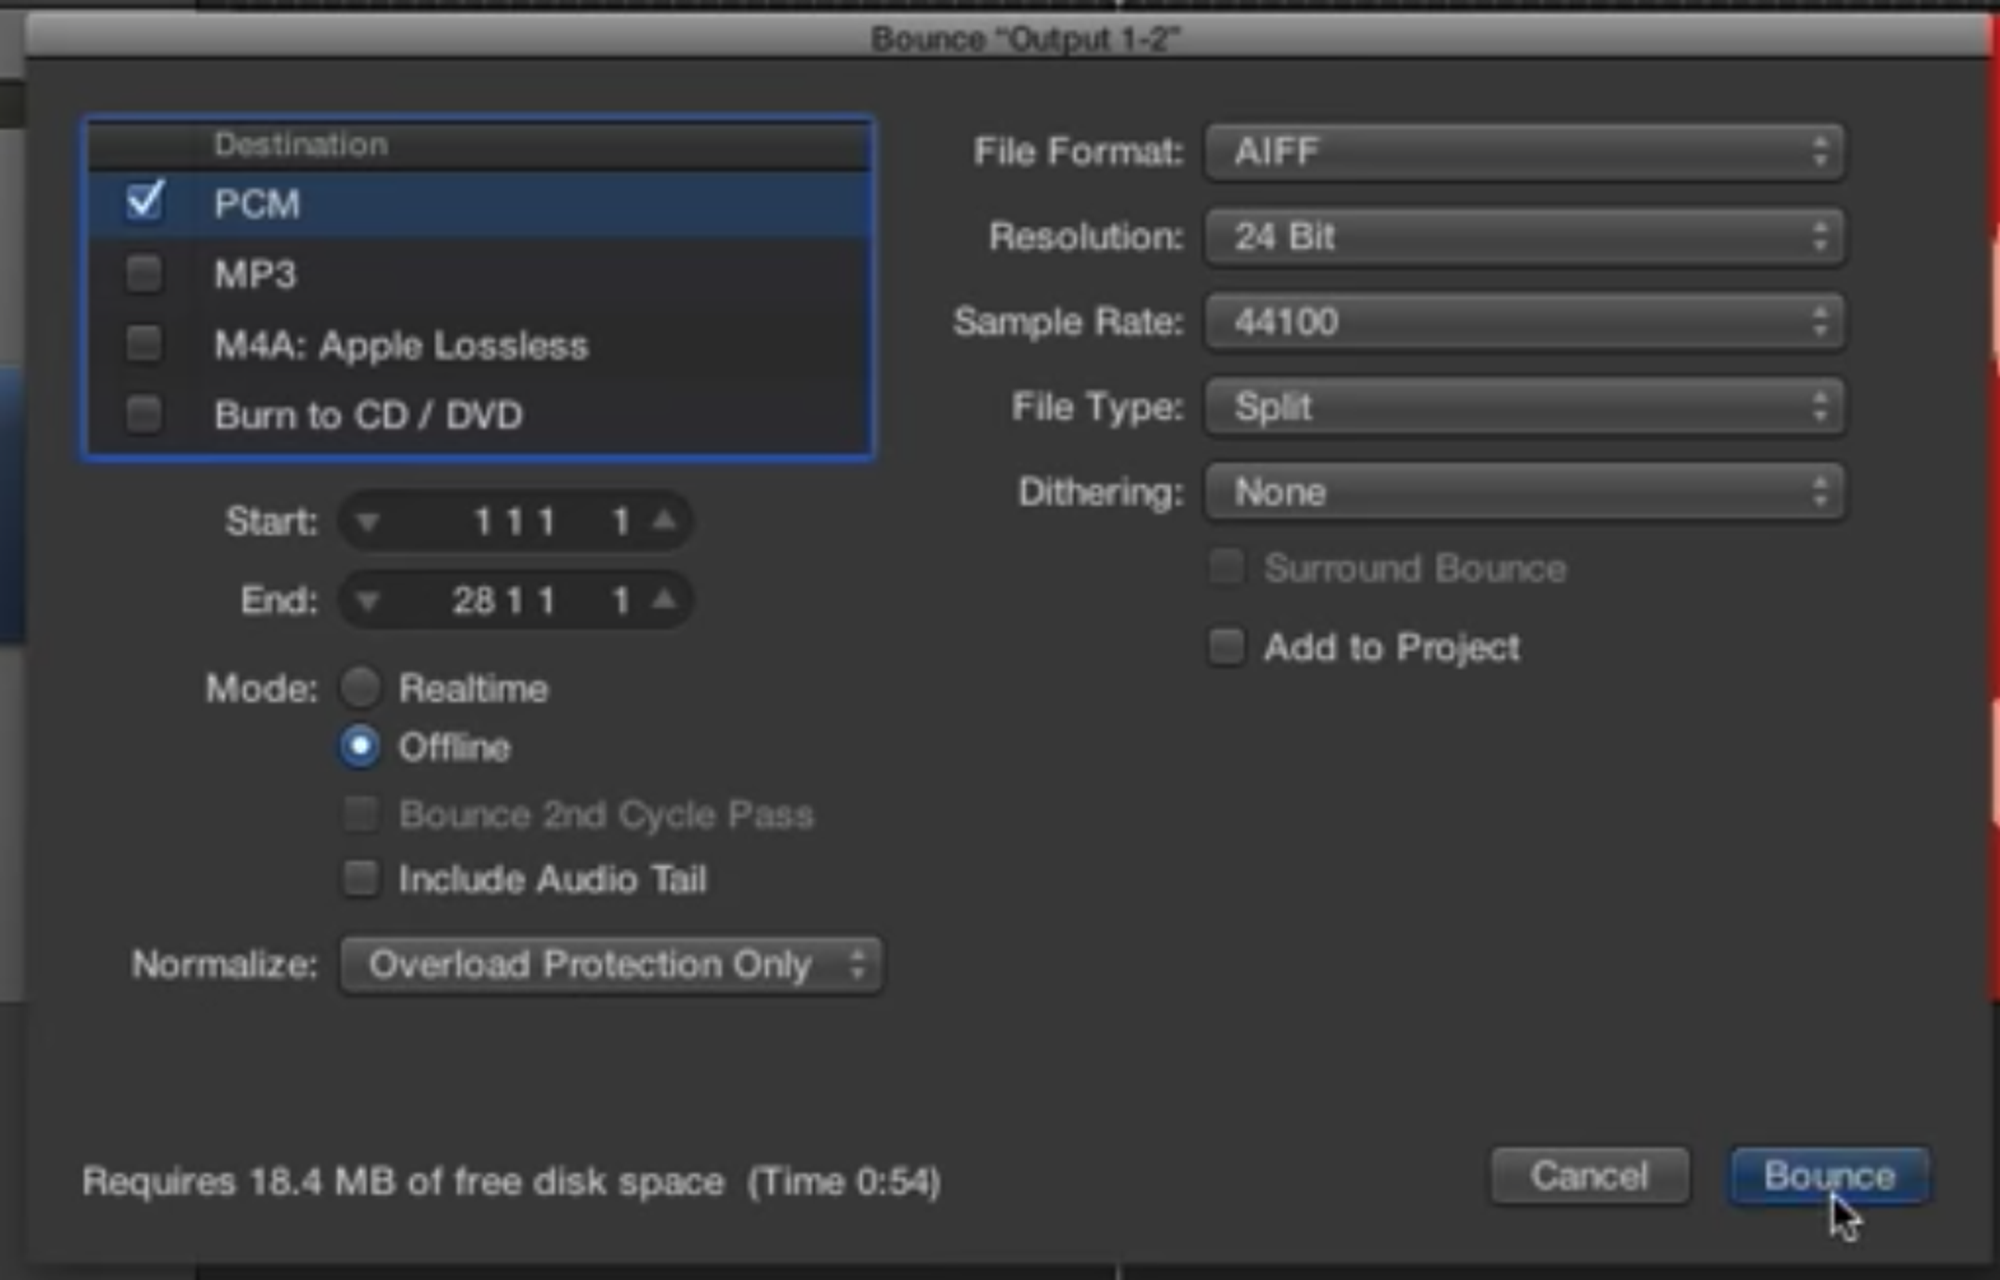
This will create two separate output files.
- Rename the files before impoting them back into Logic, so that Logic doesn't try to be clever and re-unite the two tracks!
- Import back to logic as mono tracks: you'll know they'r mono if you see a single empty circle beside the input name, and in the top-left-corner of the waveform section
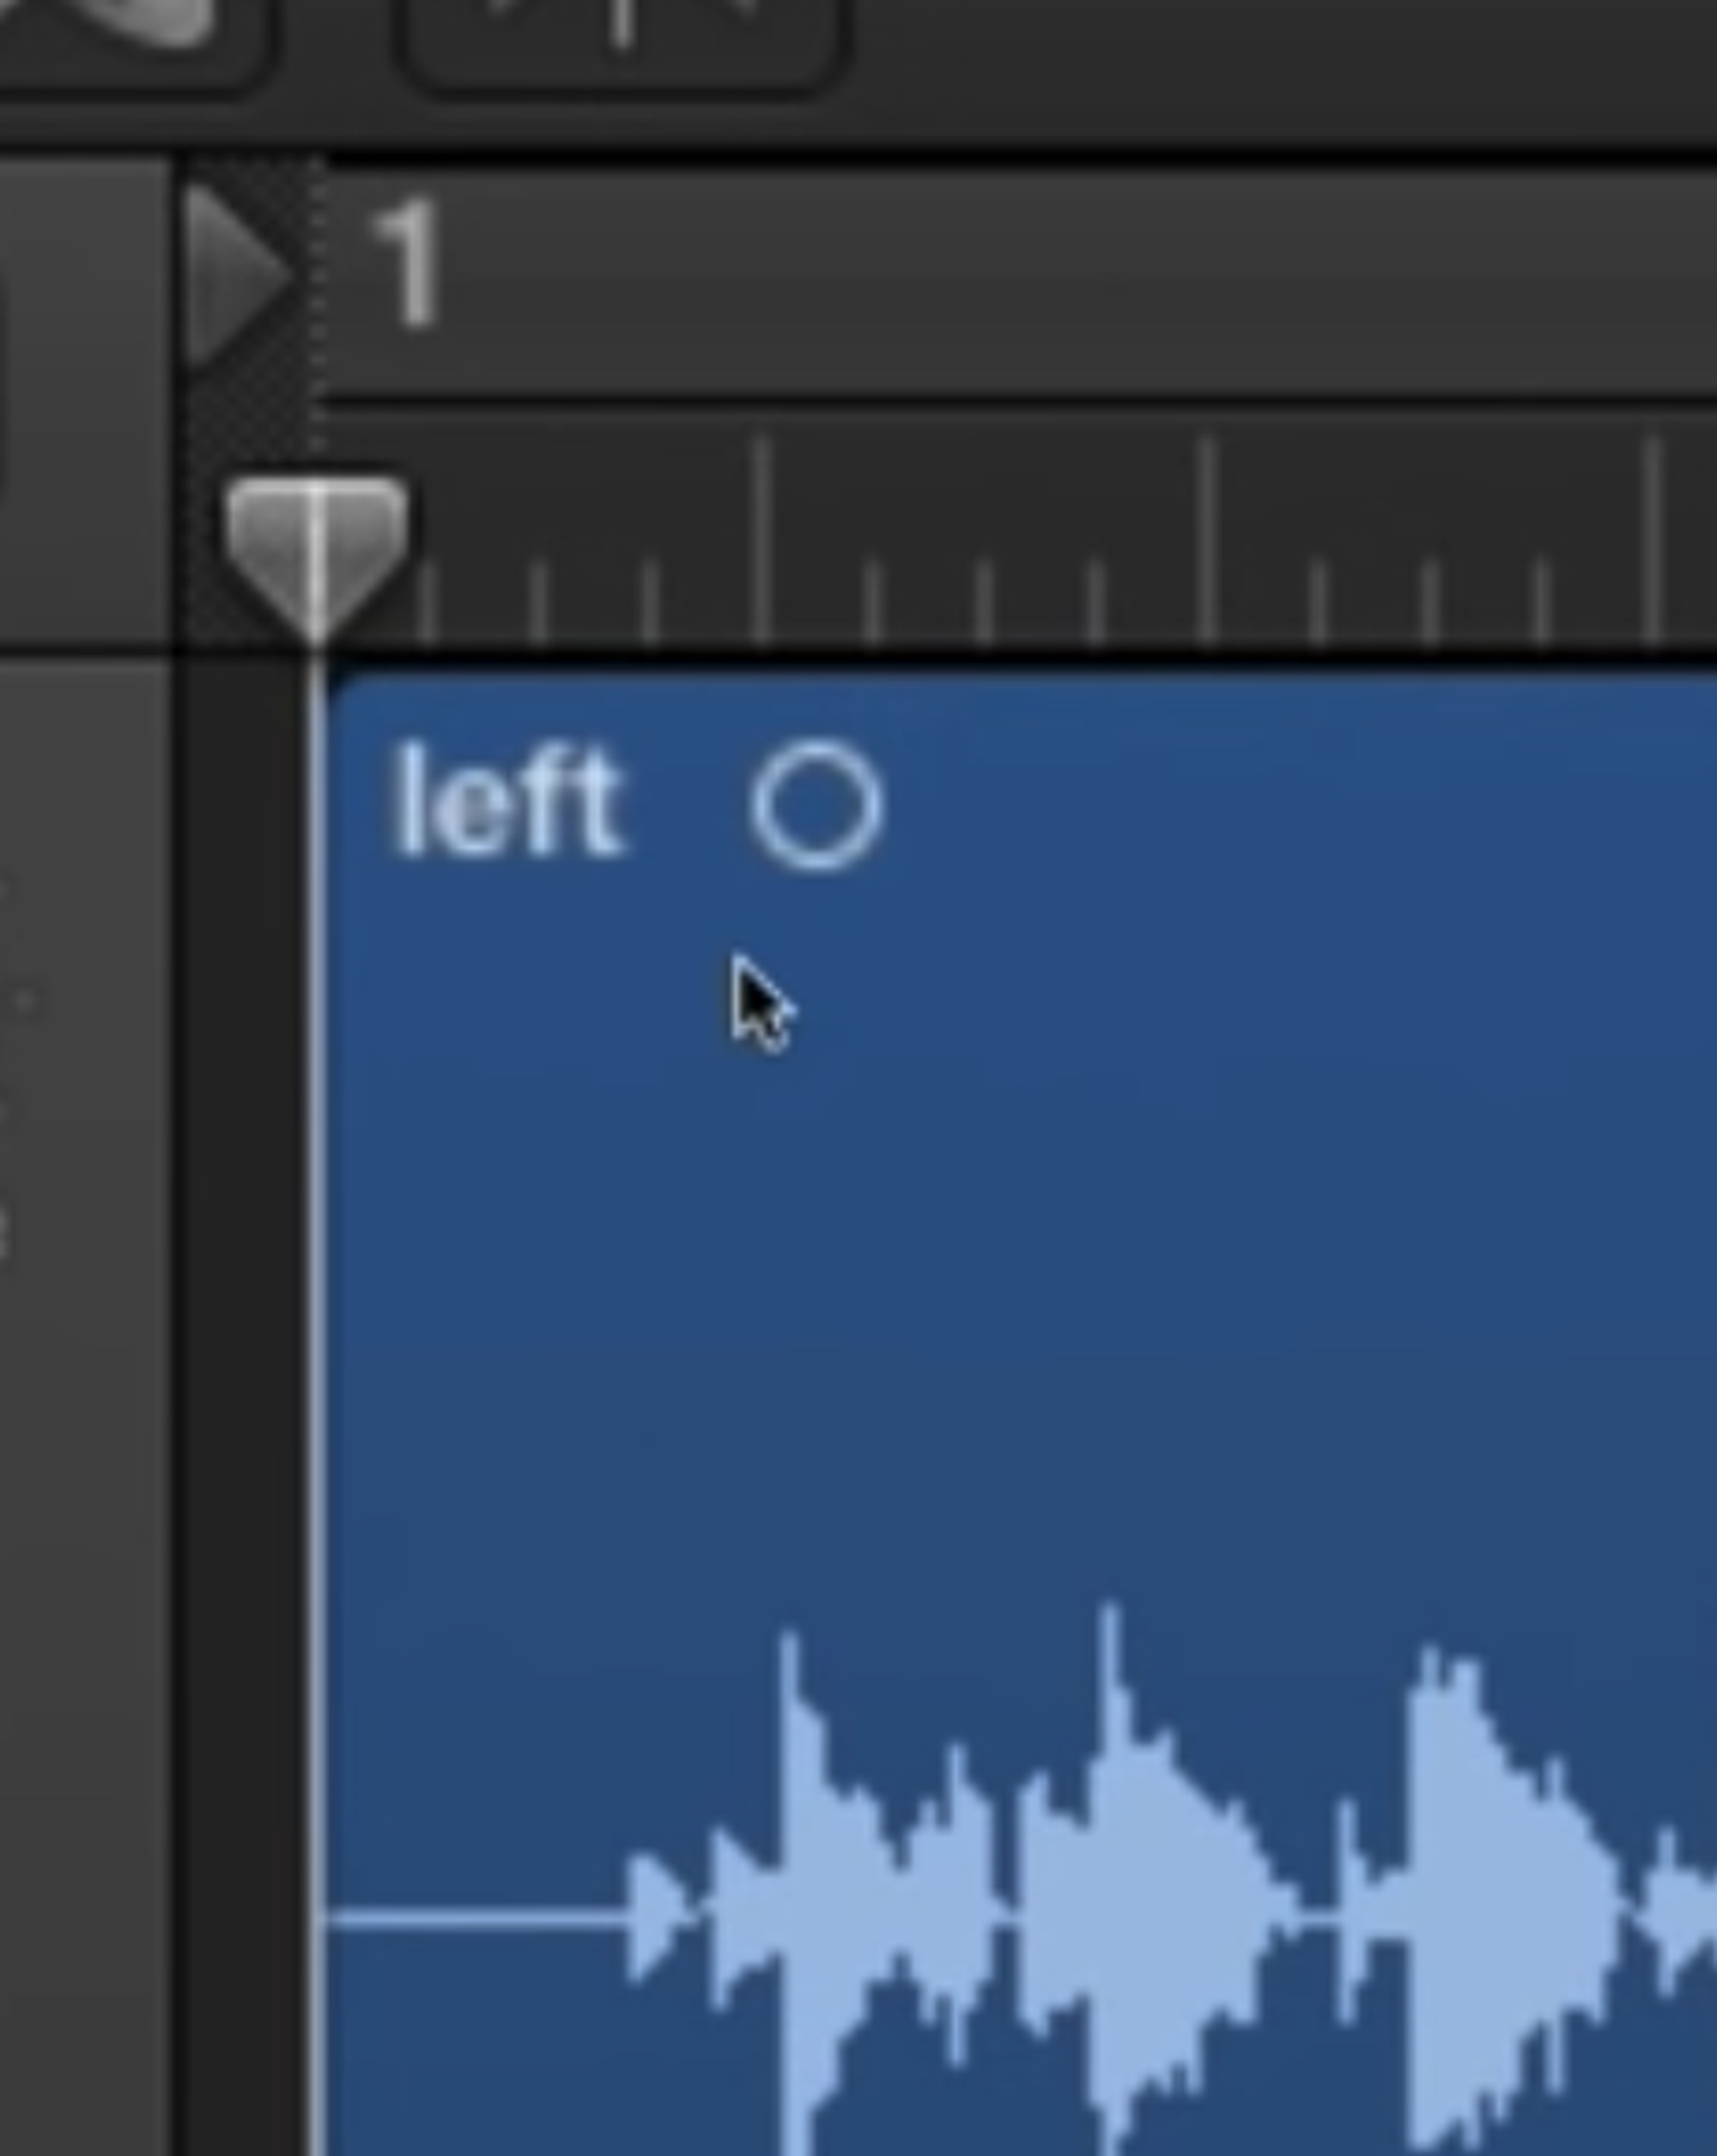

- Invert the phase of one of them. The sum will cancel out the voice, so now you've created an instrumental track (especially containing instruments that were panned hard left or right).
- If you wanted the instrumental track, you're done. If you wanted to isolate the vocals, then go back to the original, invert either the original or the instrumental track, and you'll be left with the vocals.
Video 18 – Flex time for instruments: polyphonic (most common) and monophonic (for a bass part)
- Turn on flex time

- To quantize all flex markers at once, go over to the "region" panel on the left and select "Quantize > ...."
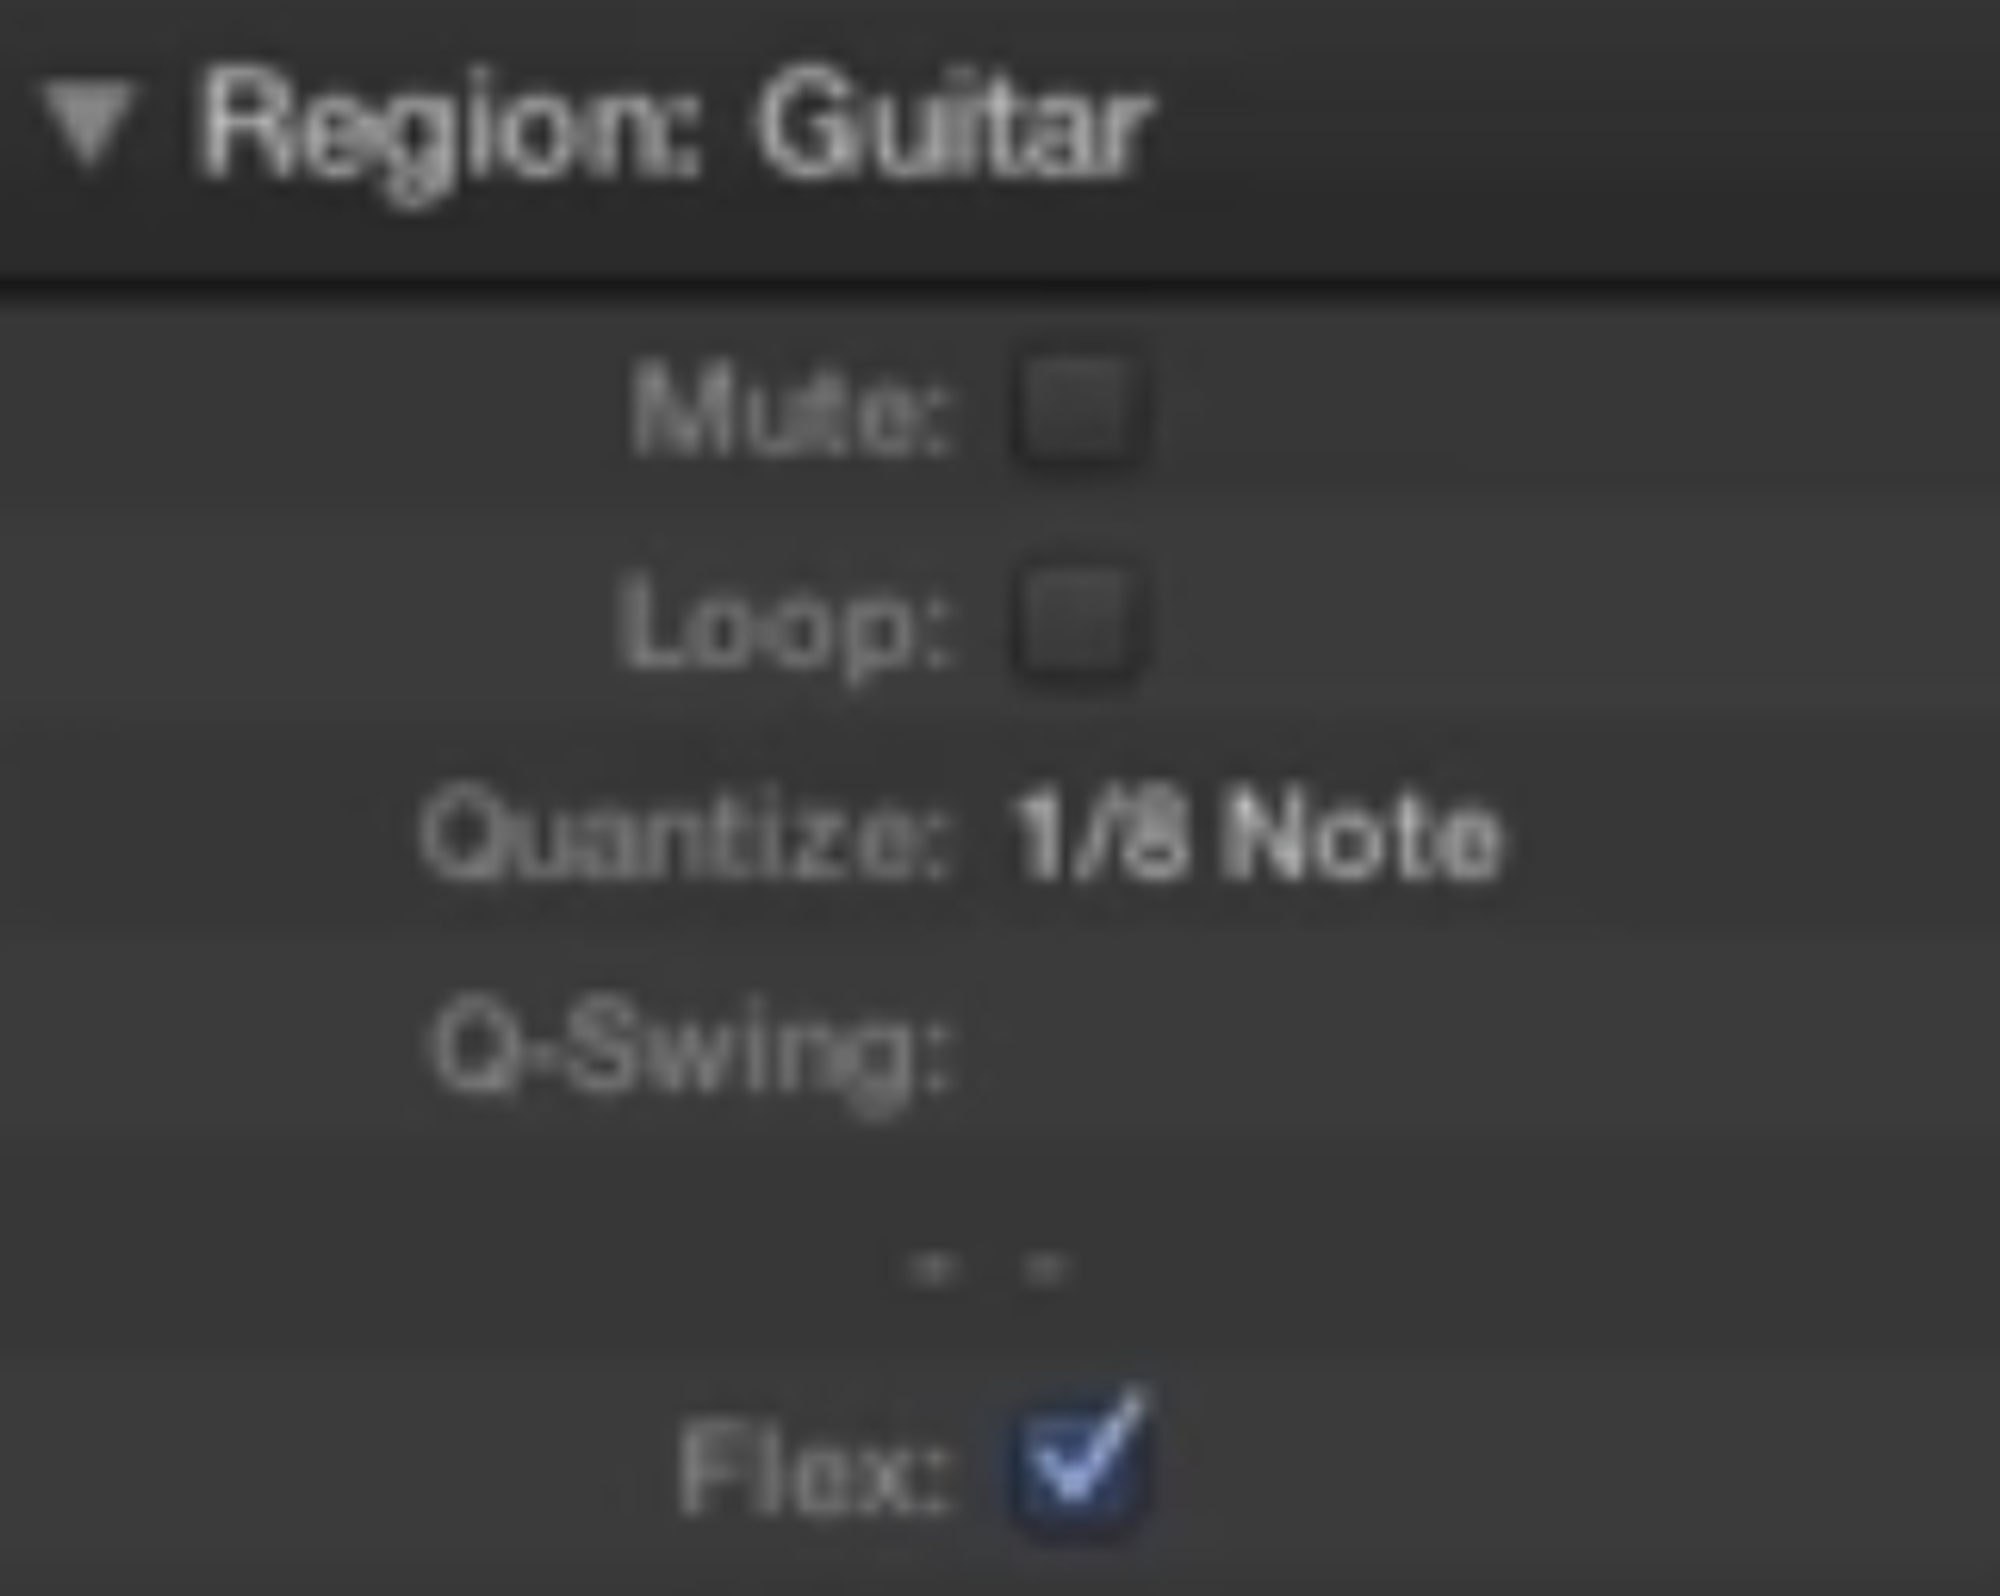
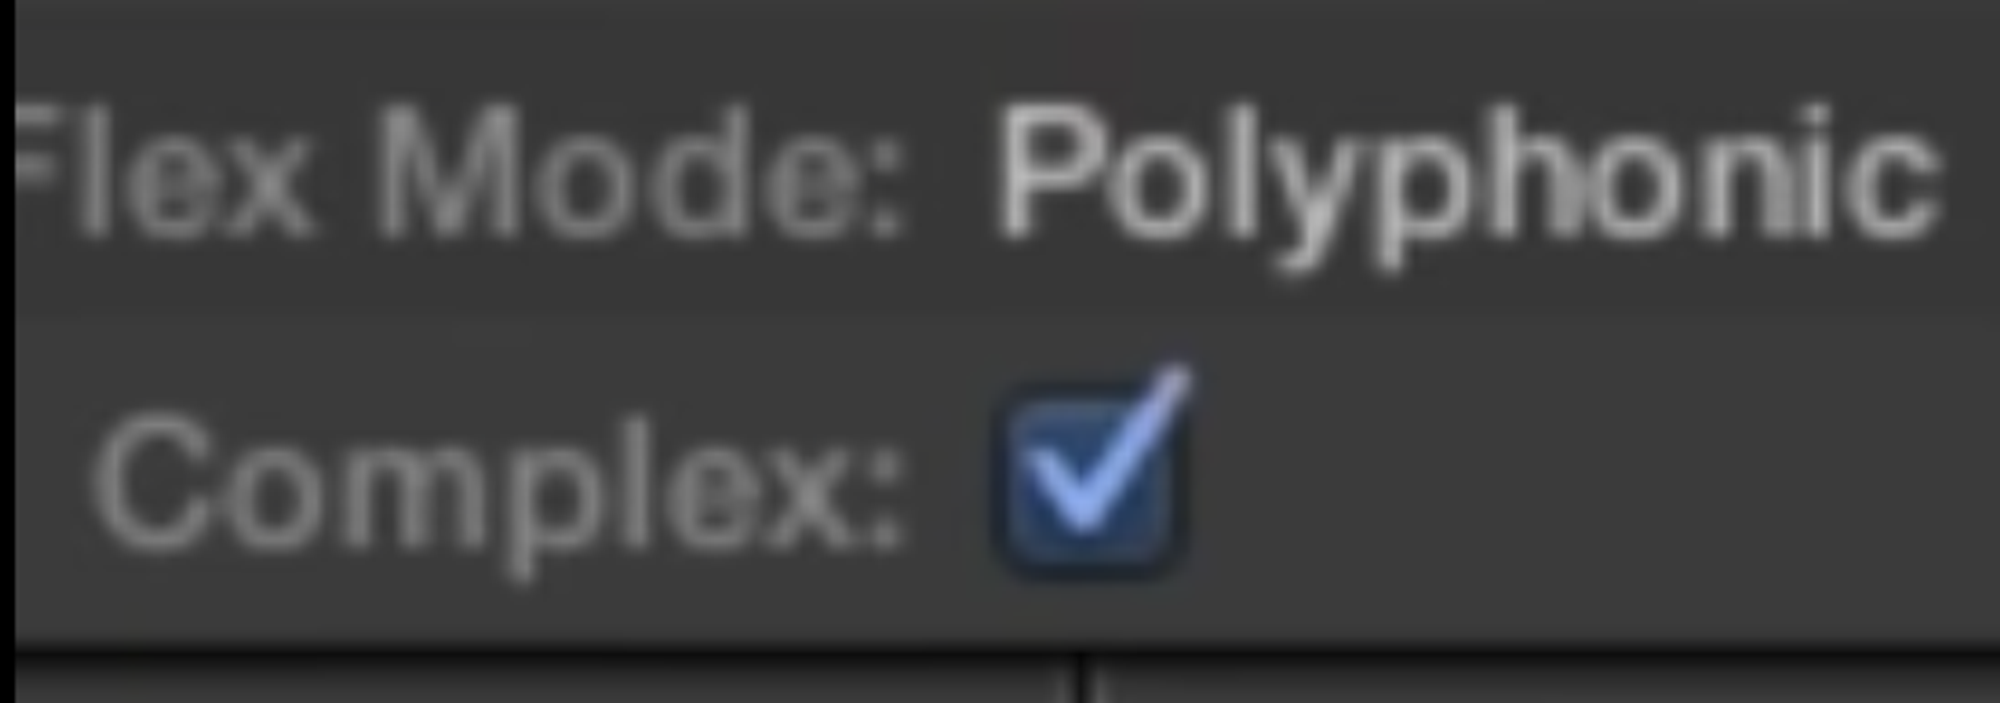
- If you opt for "polyphonic" algorithm, then do turn on "complex" tickbox – to pump more system resources into doing it better (7:10).
Automatic transient detection will likely make a few mistakes, so you've a choice:
- If you go to file mode, you can click this button to view the transients, and optionally edit some (by dragging them around). Here you're fixing the transient analysis, when you move transient markers you're not converting them to flex markers.
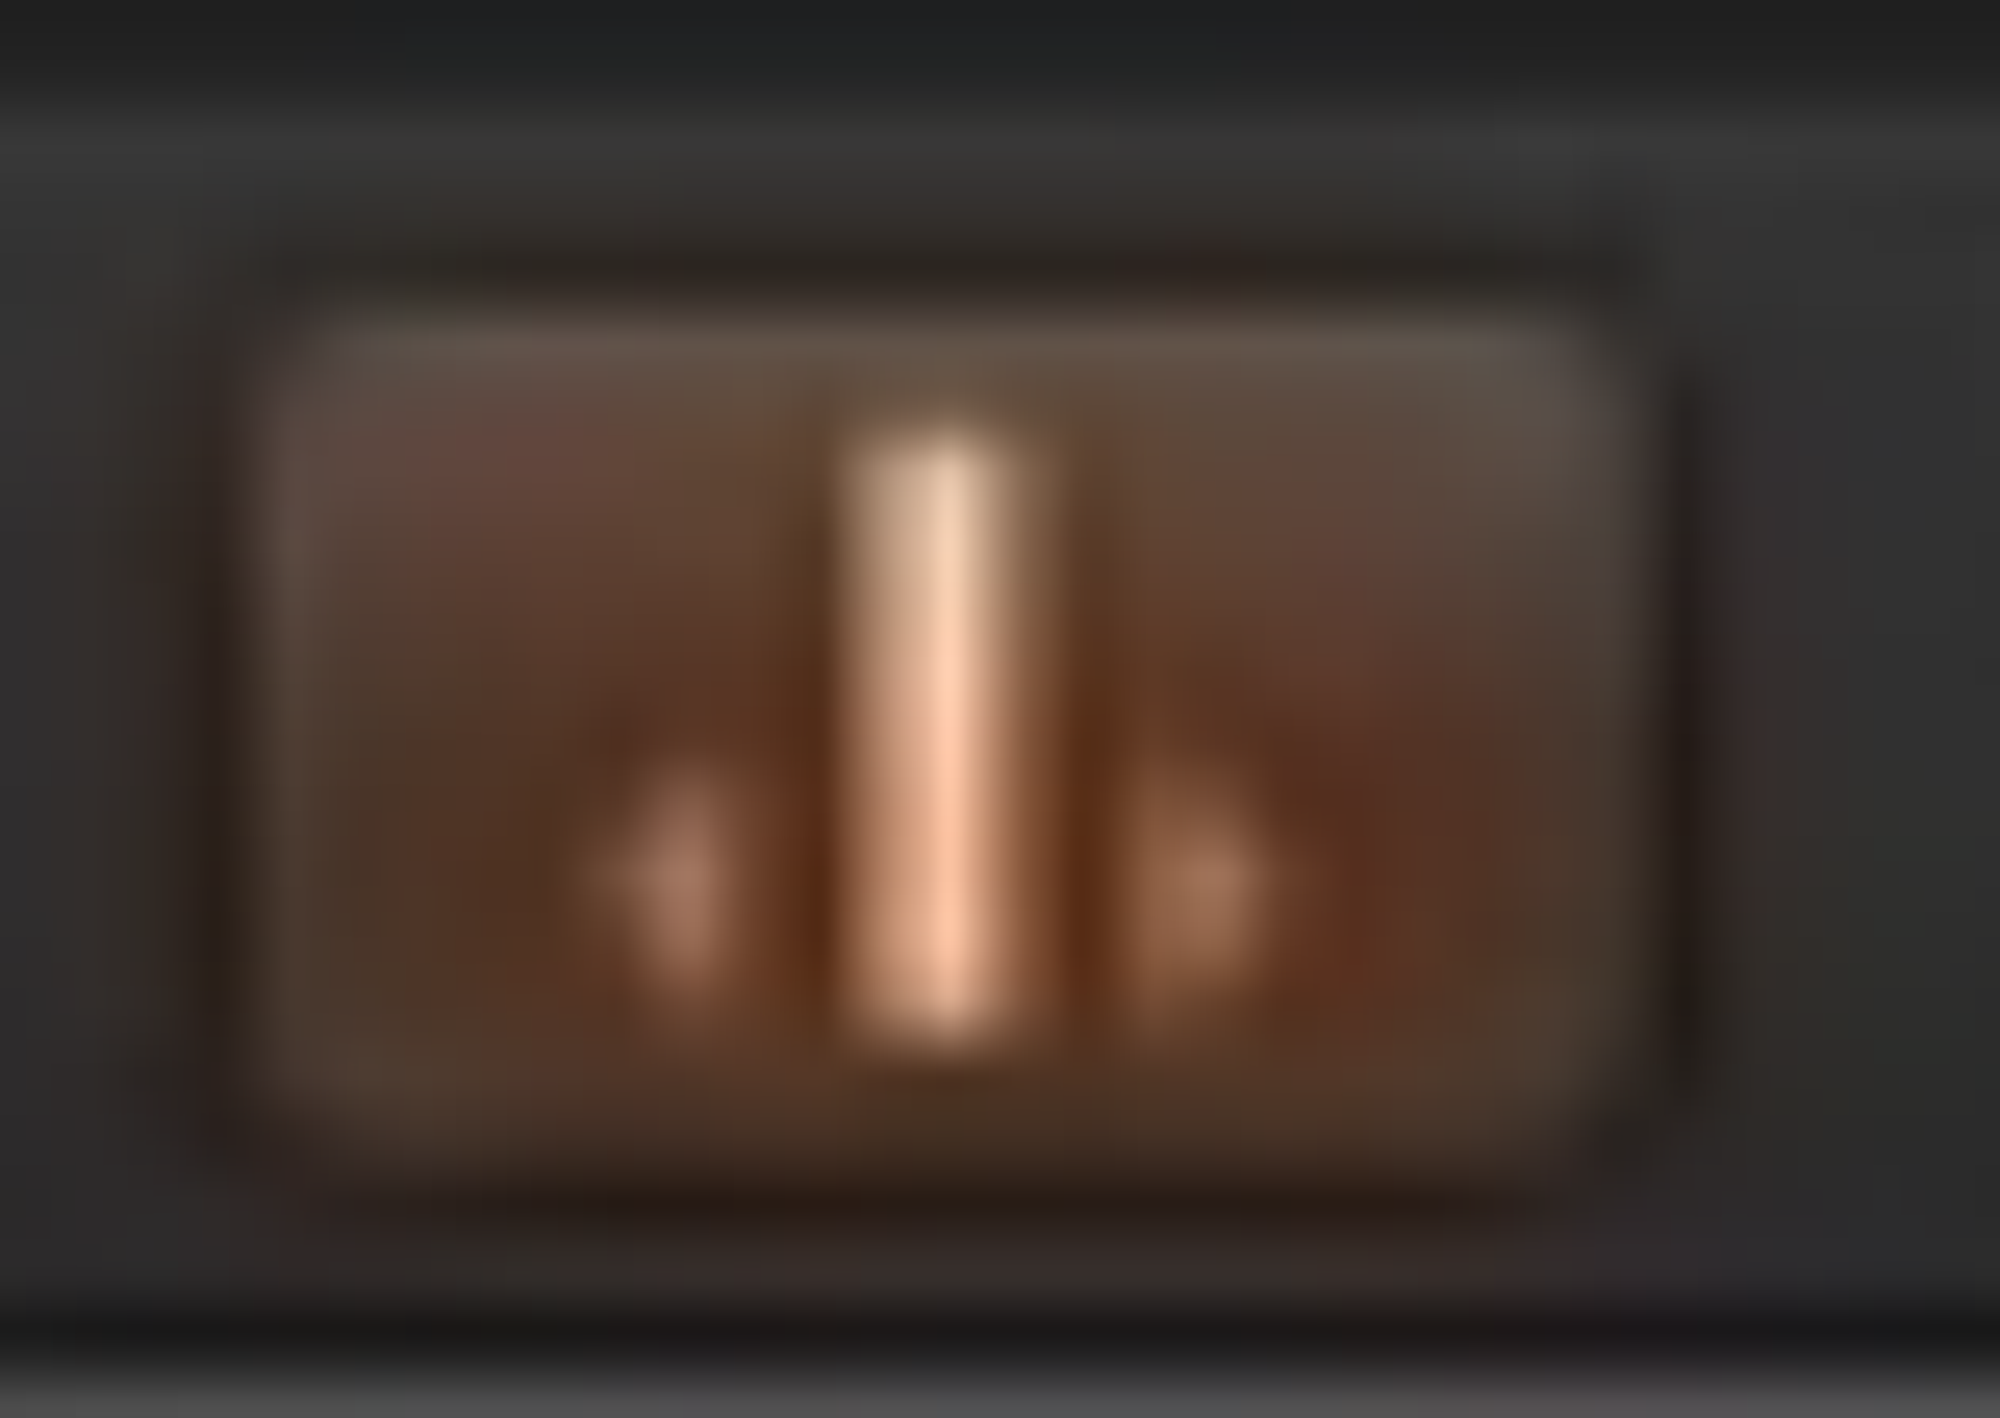
- Alternatively back in normal (track) mode you can just double-click on a wrong transient marker to delete it, and single-click to create a new one.
Video 19 – Flex time for drums, rhythmic and slicing
- Assign multiple live drum tracks to one Group. Open group settings and ensure "phase locked" is ticked.

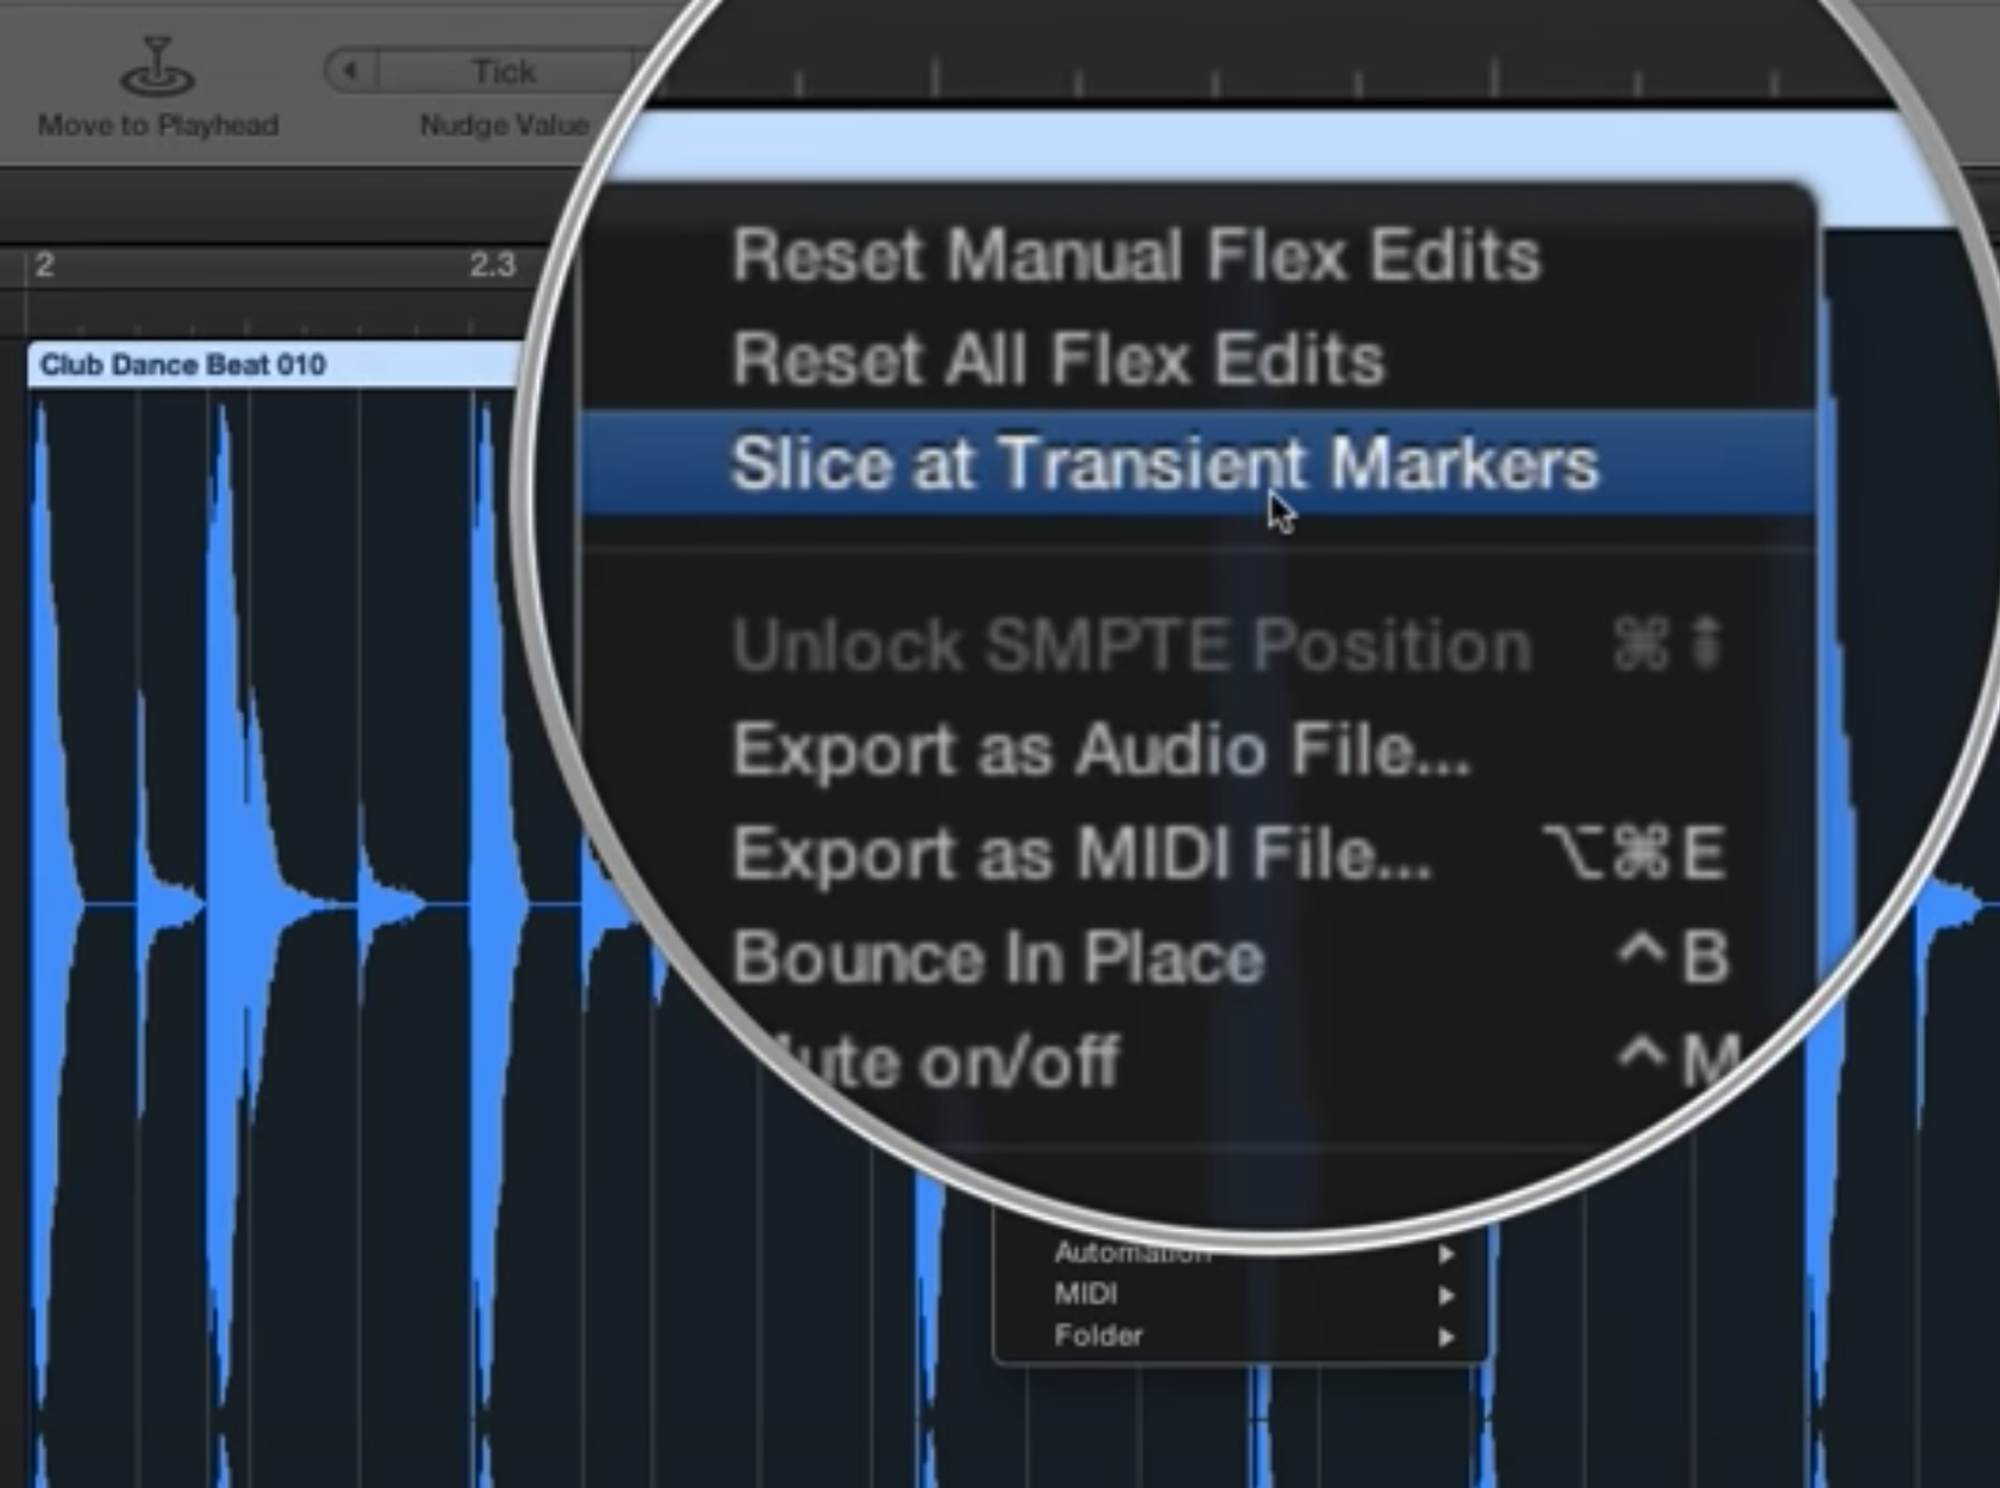
- Right-click at top of region to slice into tiny pieces, based on transient markers. (This is a bit like the auto-slicer in the sampler tutorial, I think?)
Logic Pro X - Video Tutorial 20 - Flex Time Part 3 - Speed and Tempophone
- Speed is like slowing down (or speeding up) a cassette tape – the pitch falls (or rises) to match. It's a bit like "Varispeed" (video 22).
- Tempophone adds some deliberate artifacts
- Adjust the Sensitivity of Transient Markers in File view
Video 21 - Tempo Changes with Flex Time
- Just click the "flex" icon before changing the project's bpm, and then all audio tracks will ajust to the new time. Otherwise, only midi and Apple Loops will adjust, but your recorded audio will still play at 1x, hence out of time
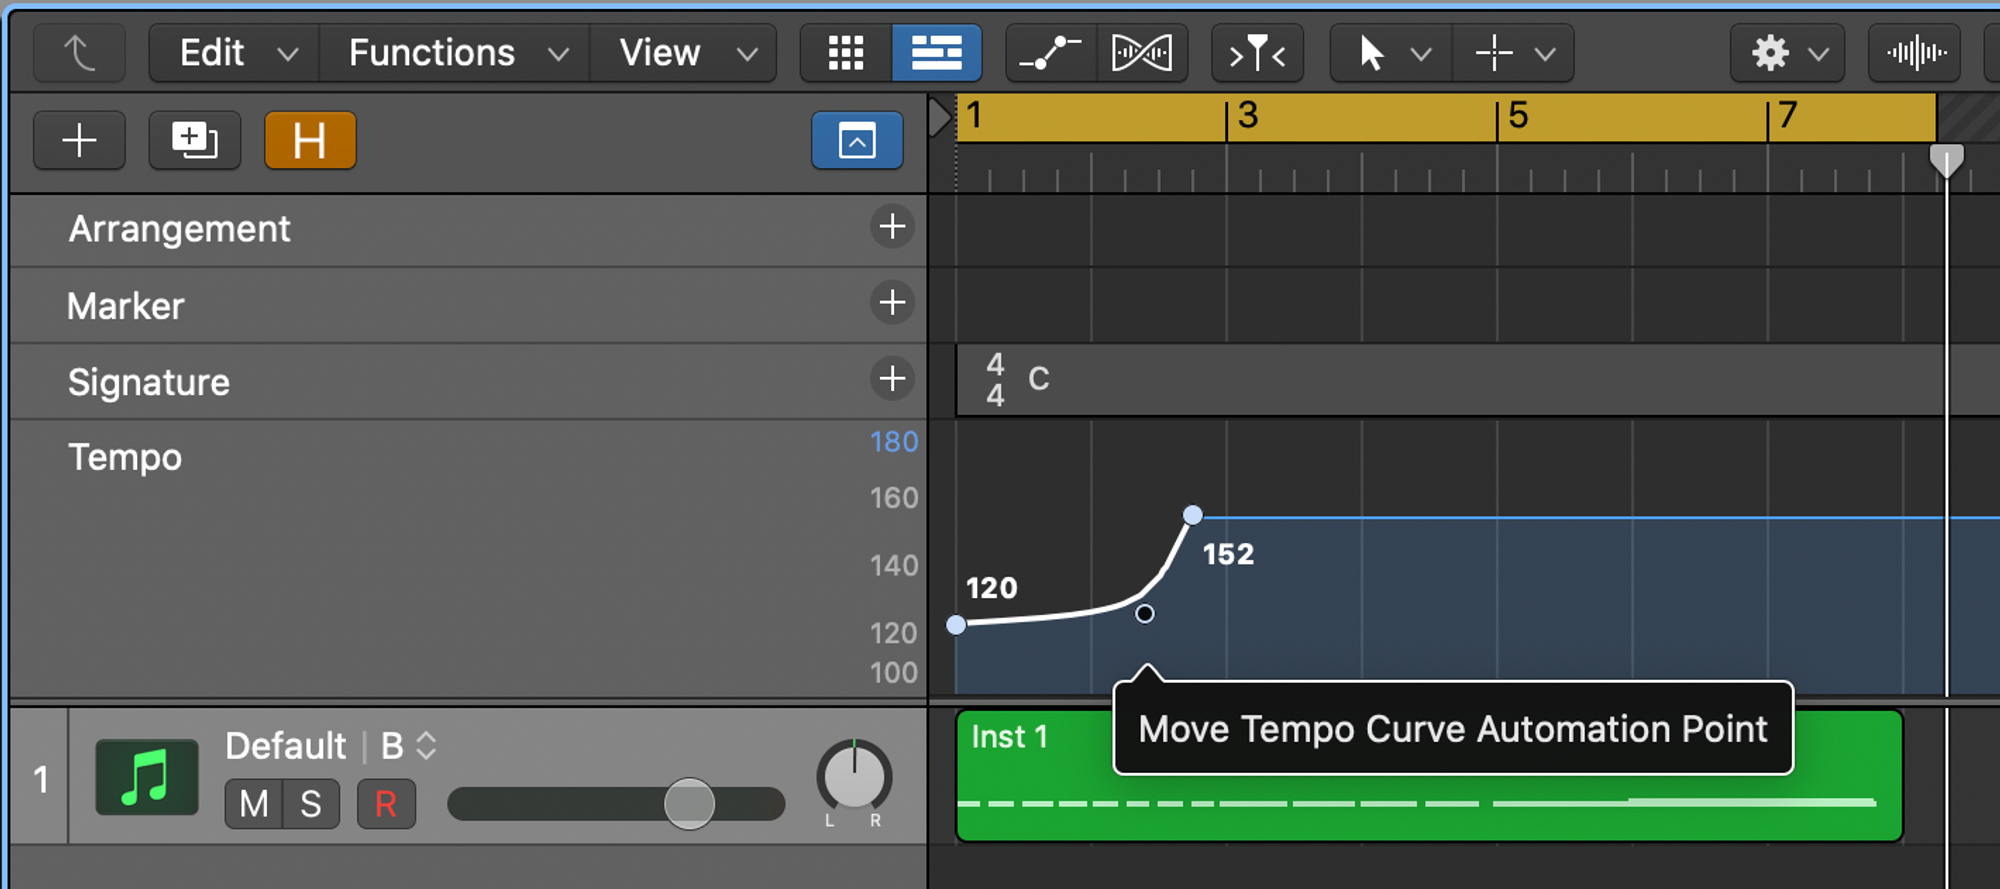
- Press Option-G to bring up the global track. There, you can change the project tempo half-way through a song, or set automation to adjust the tempo gradually.
22 - Varispeed
The one where he goes on a rant about how "Varispeed" sounds just like "Varispeed and MIDI"
- First, customise display to show the varispeed in the LCD panel
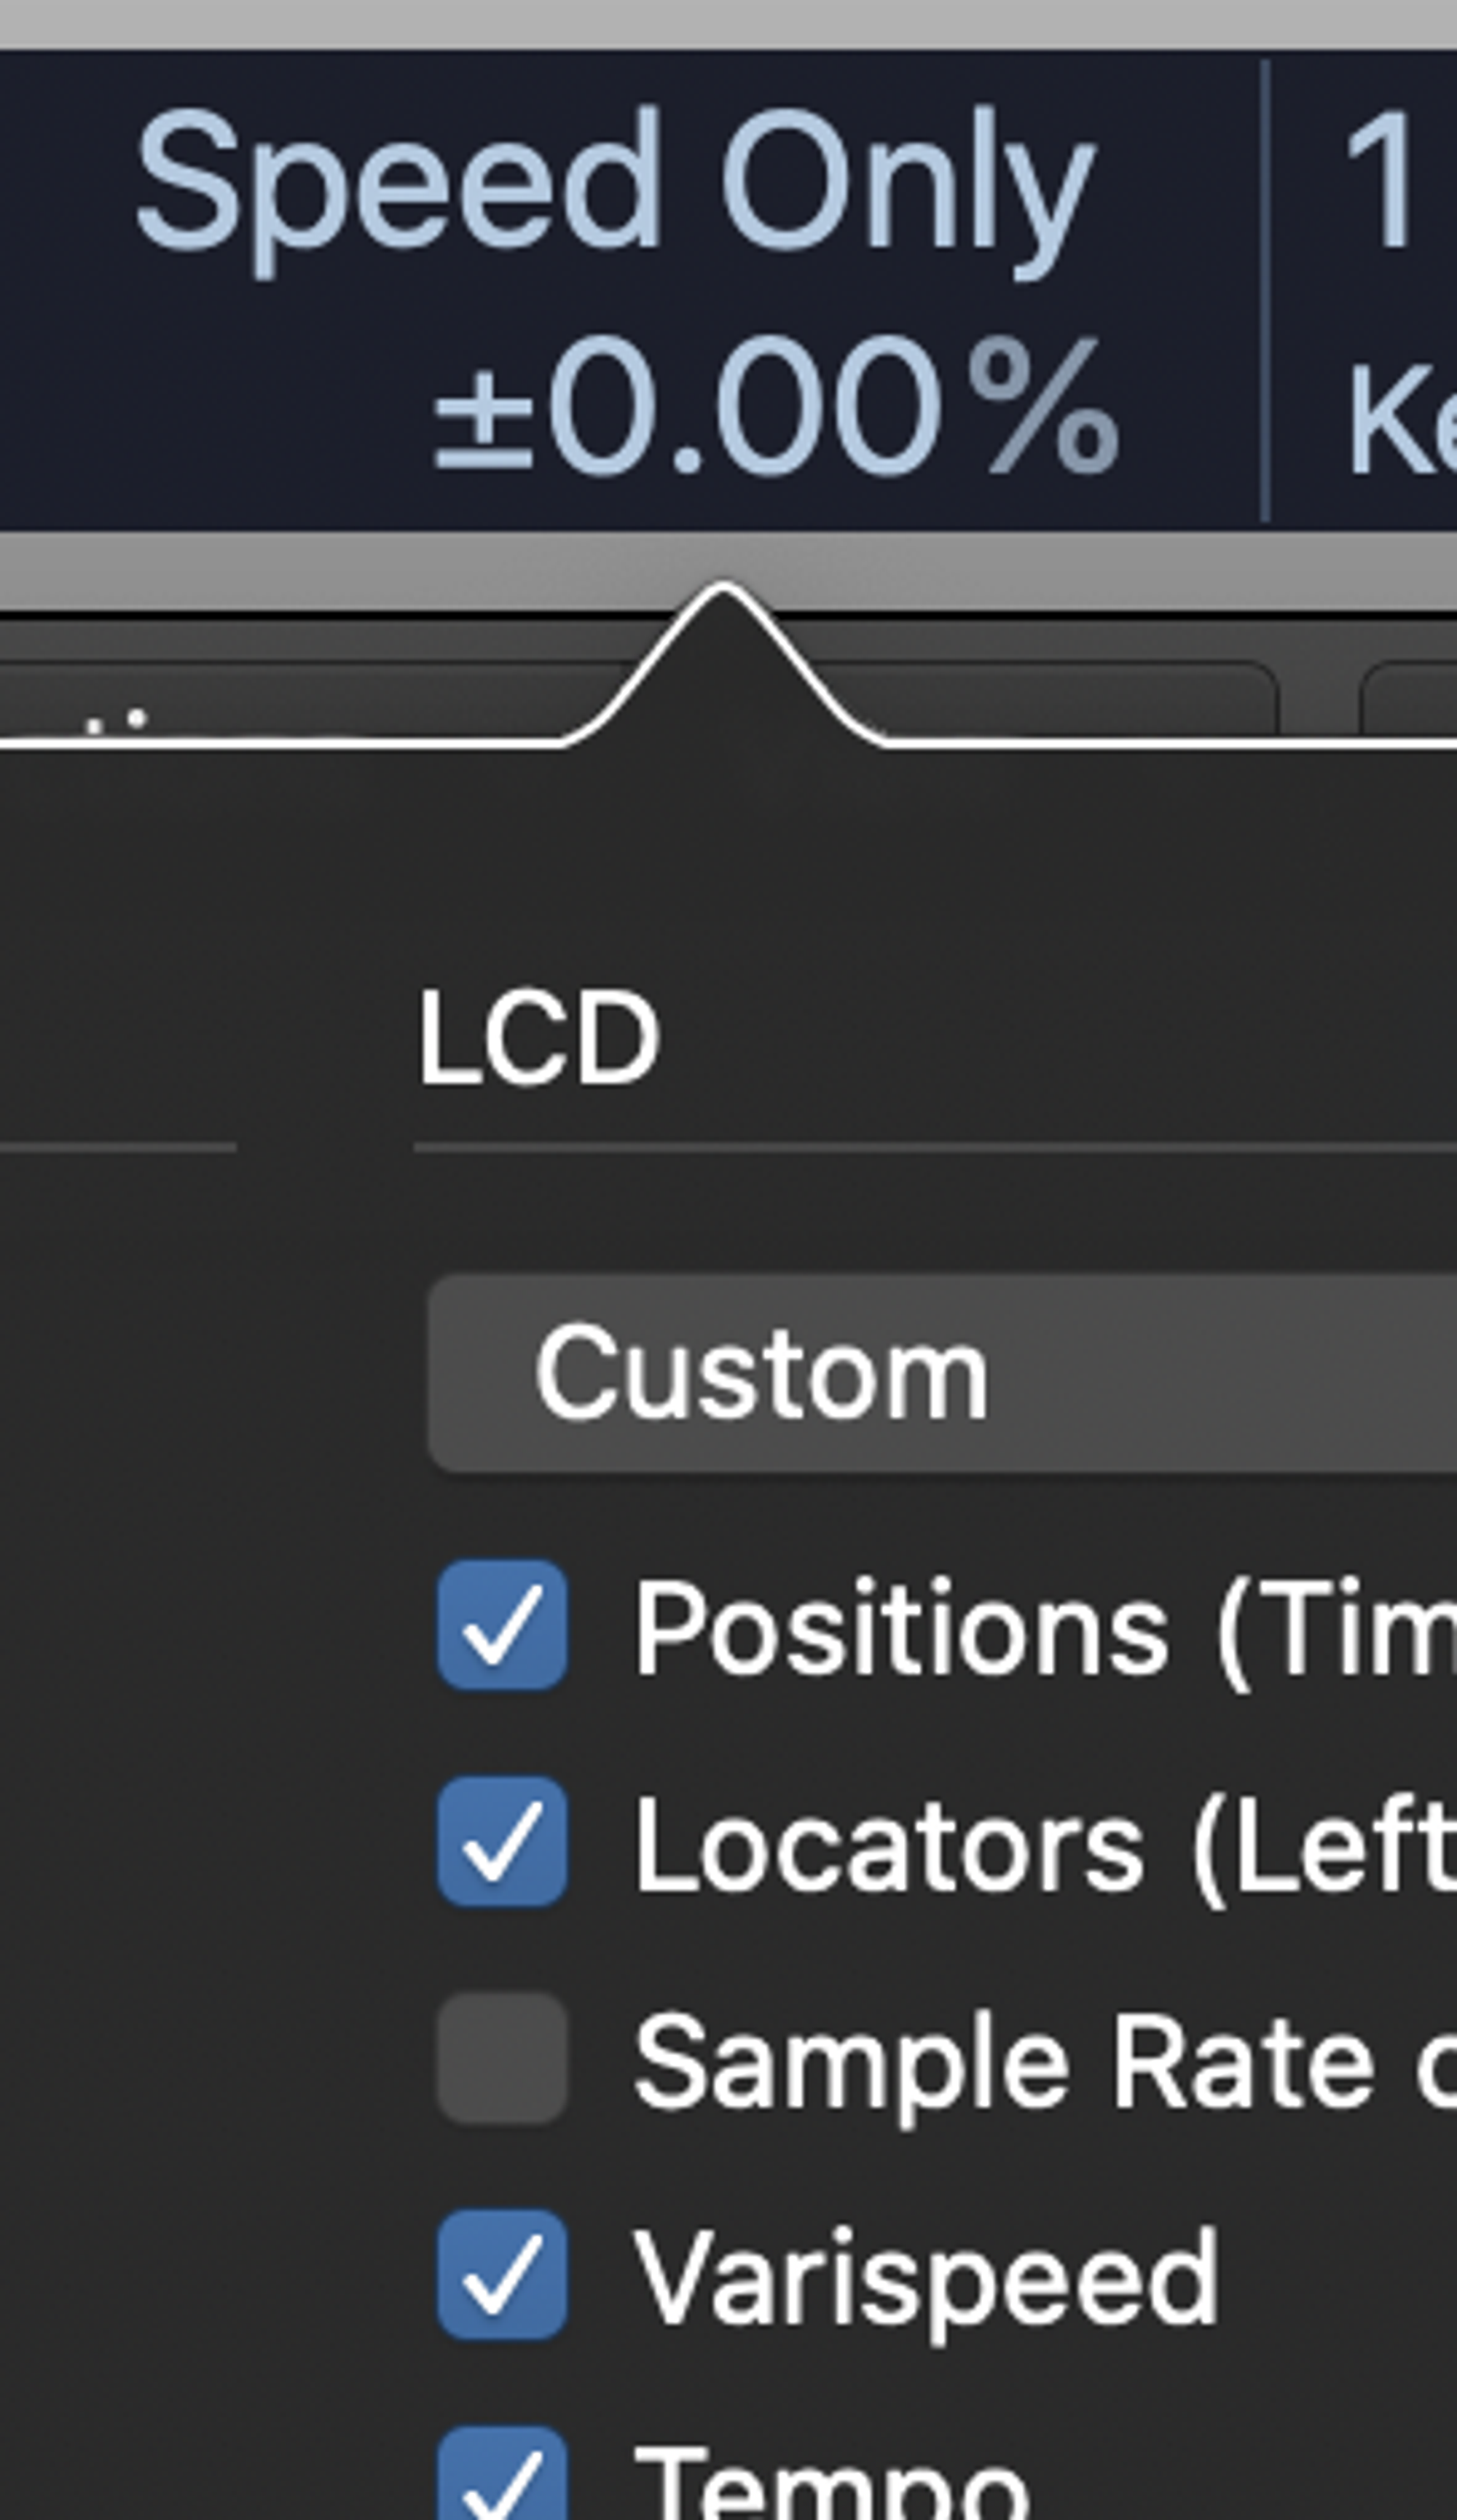
- Choices are "Speed only" which doesn't change pitch, or "Varispeed" which does change pitch (like the flex time "Speed" algorithm). Ignore "Varispeed and MIDI", it's the same as "Varispeed (Speed and Pitch)".

23 - Flex Pitch and Vocal Tuning
Intro to turning on flex, then quantize to the nearest note
- Cmd-A to select all, then select a scale (like C Major) from dropdown, then you can quantize all (drag slider to 100)
- Use glue or scissors to join or split notes that should (not) be together.
- Time quantize could be handy too.
24 - More Flex Pitch, Convert Audio to MIDI
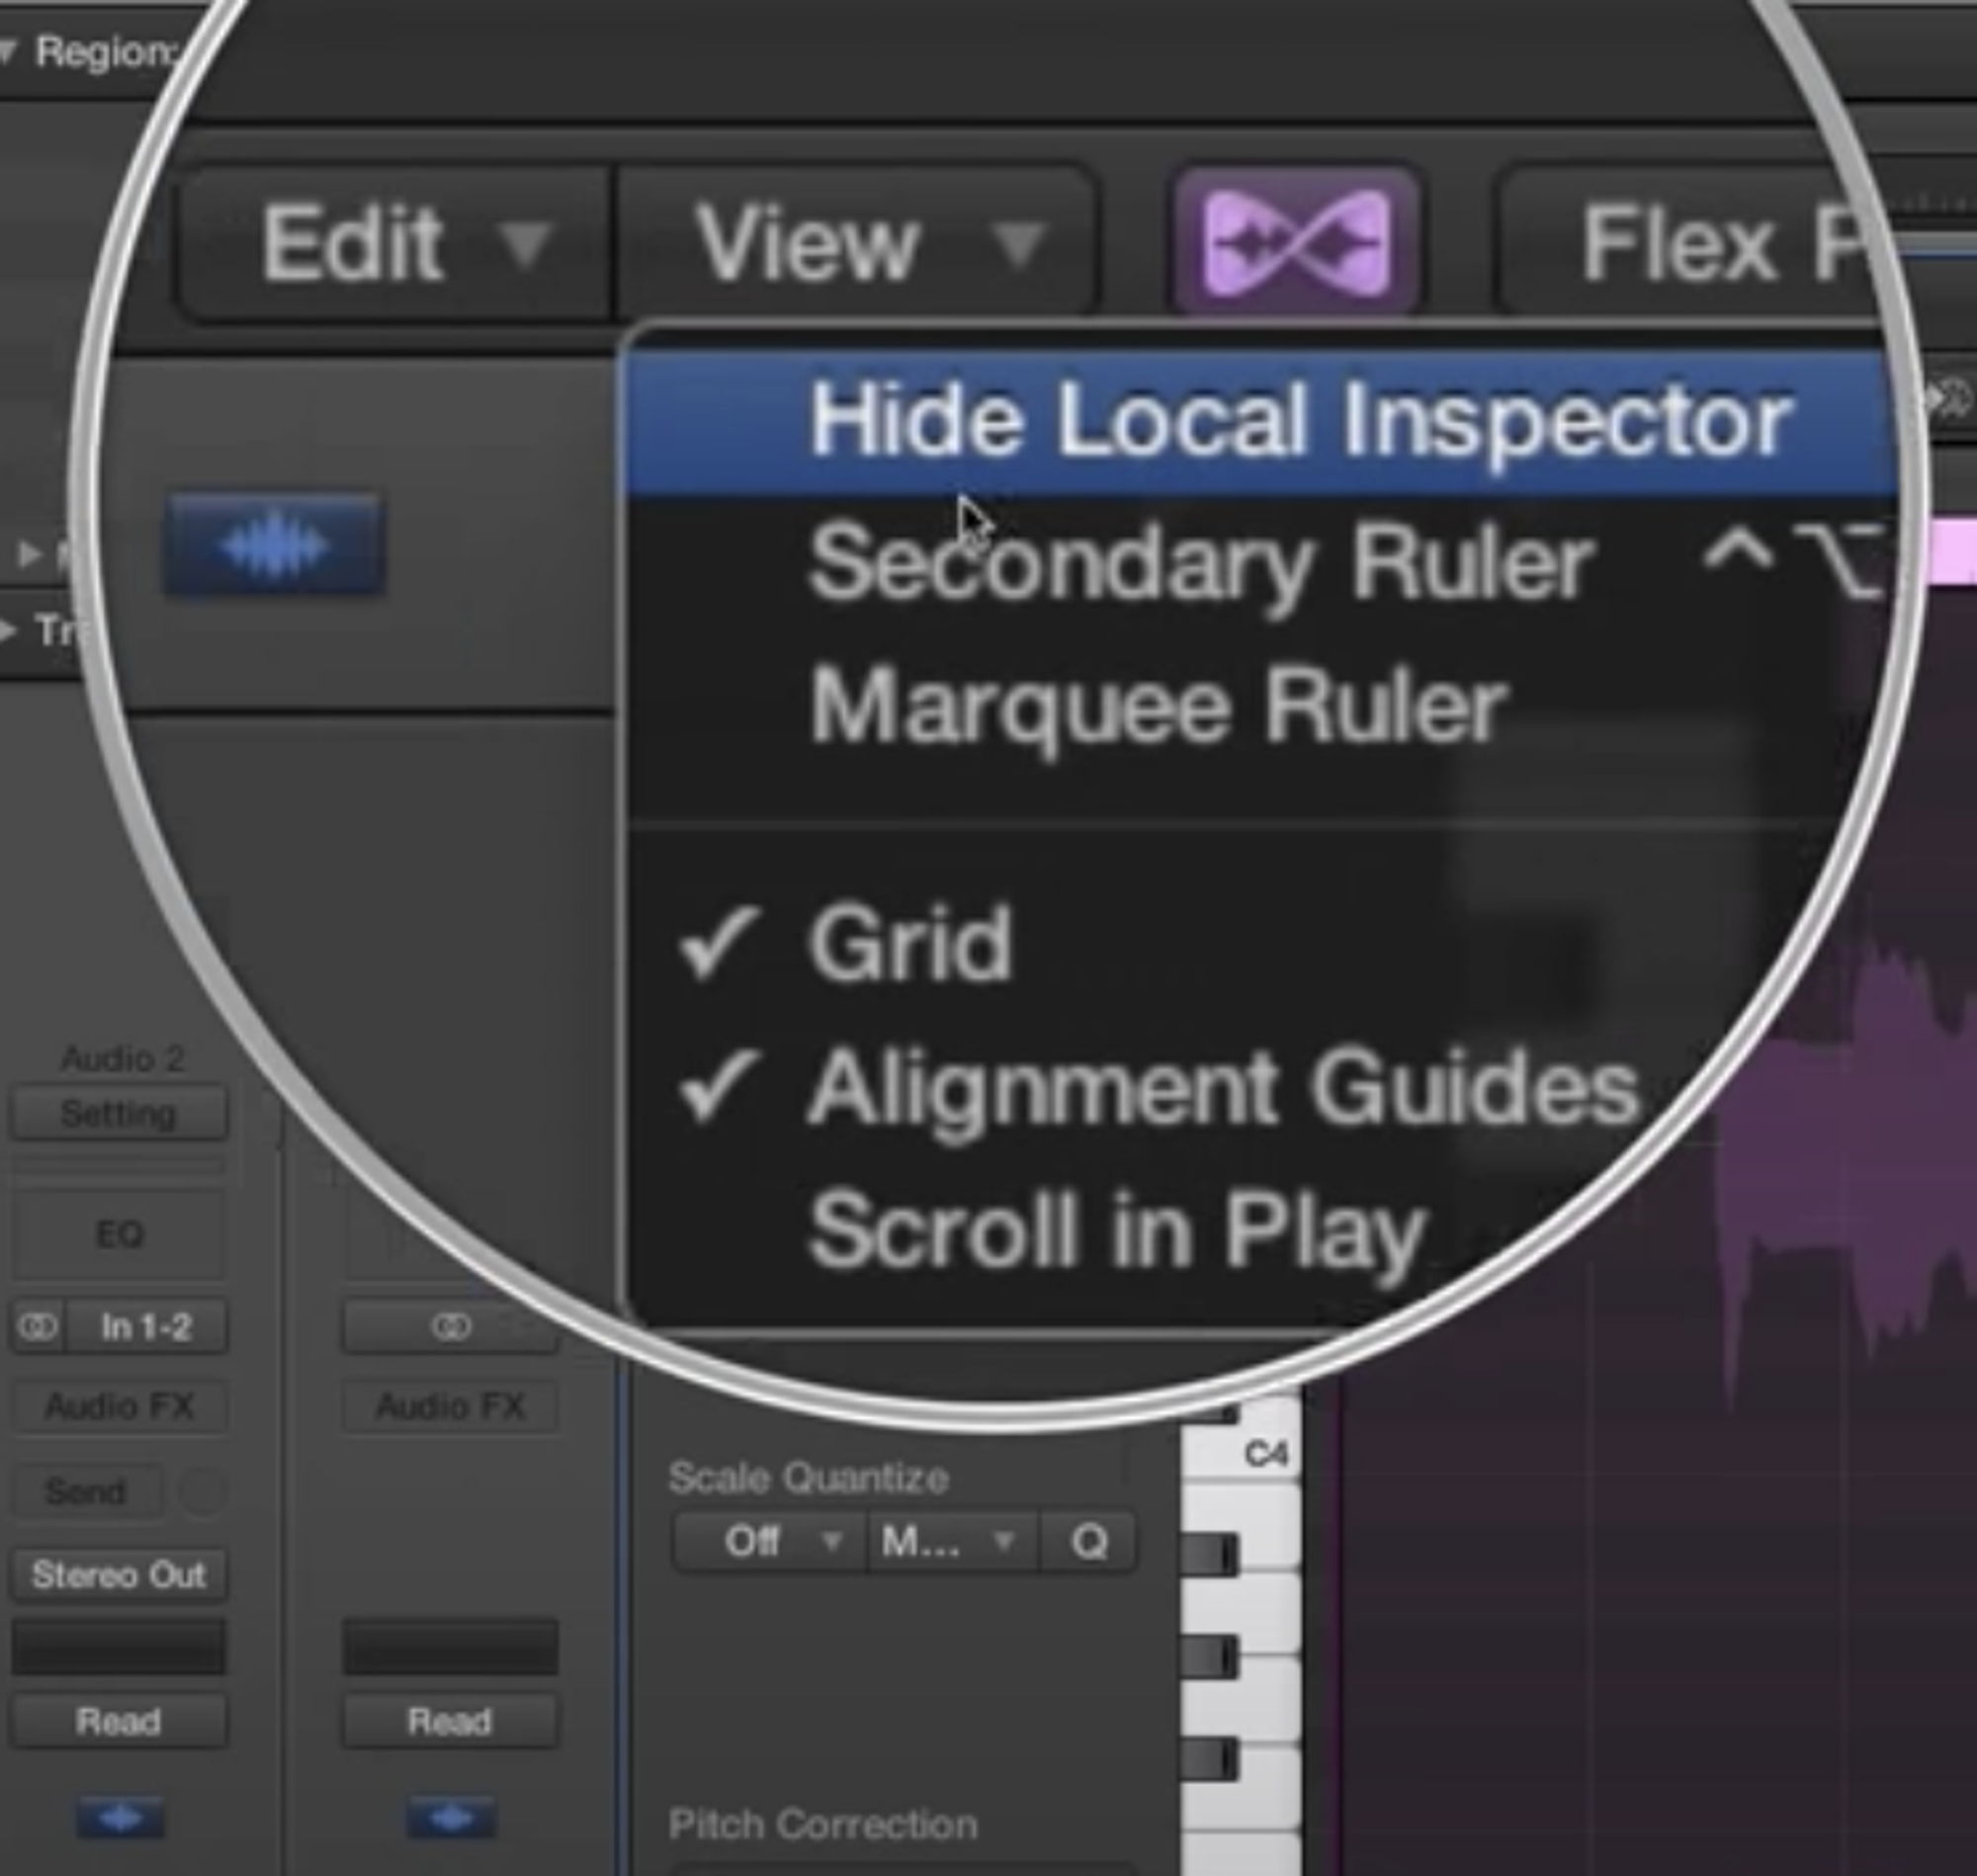
- You might need to select "View > Show local inspector" to see the sidebare with slider 0-100
- Don't forget about "Time quantization" – to tighten up timing of audio recording
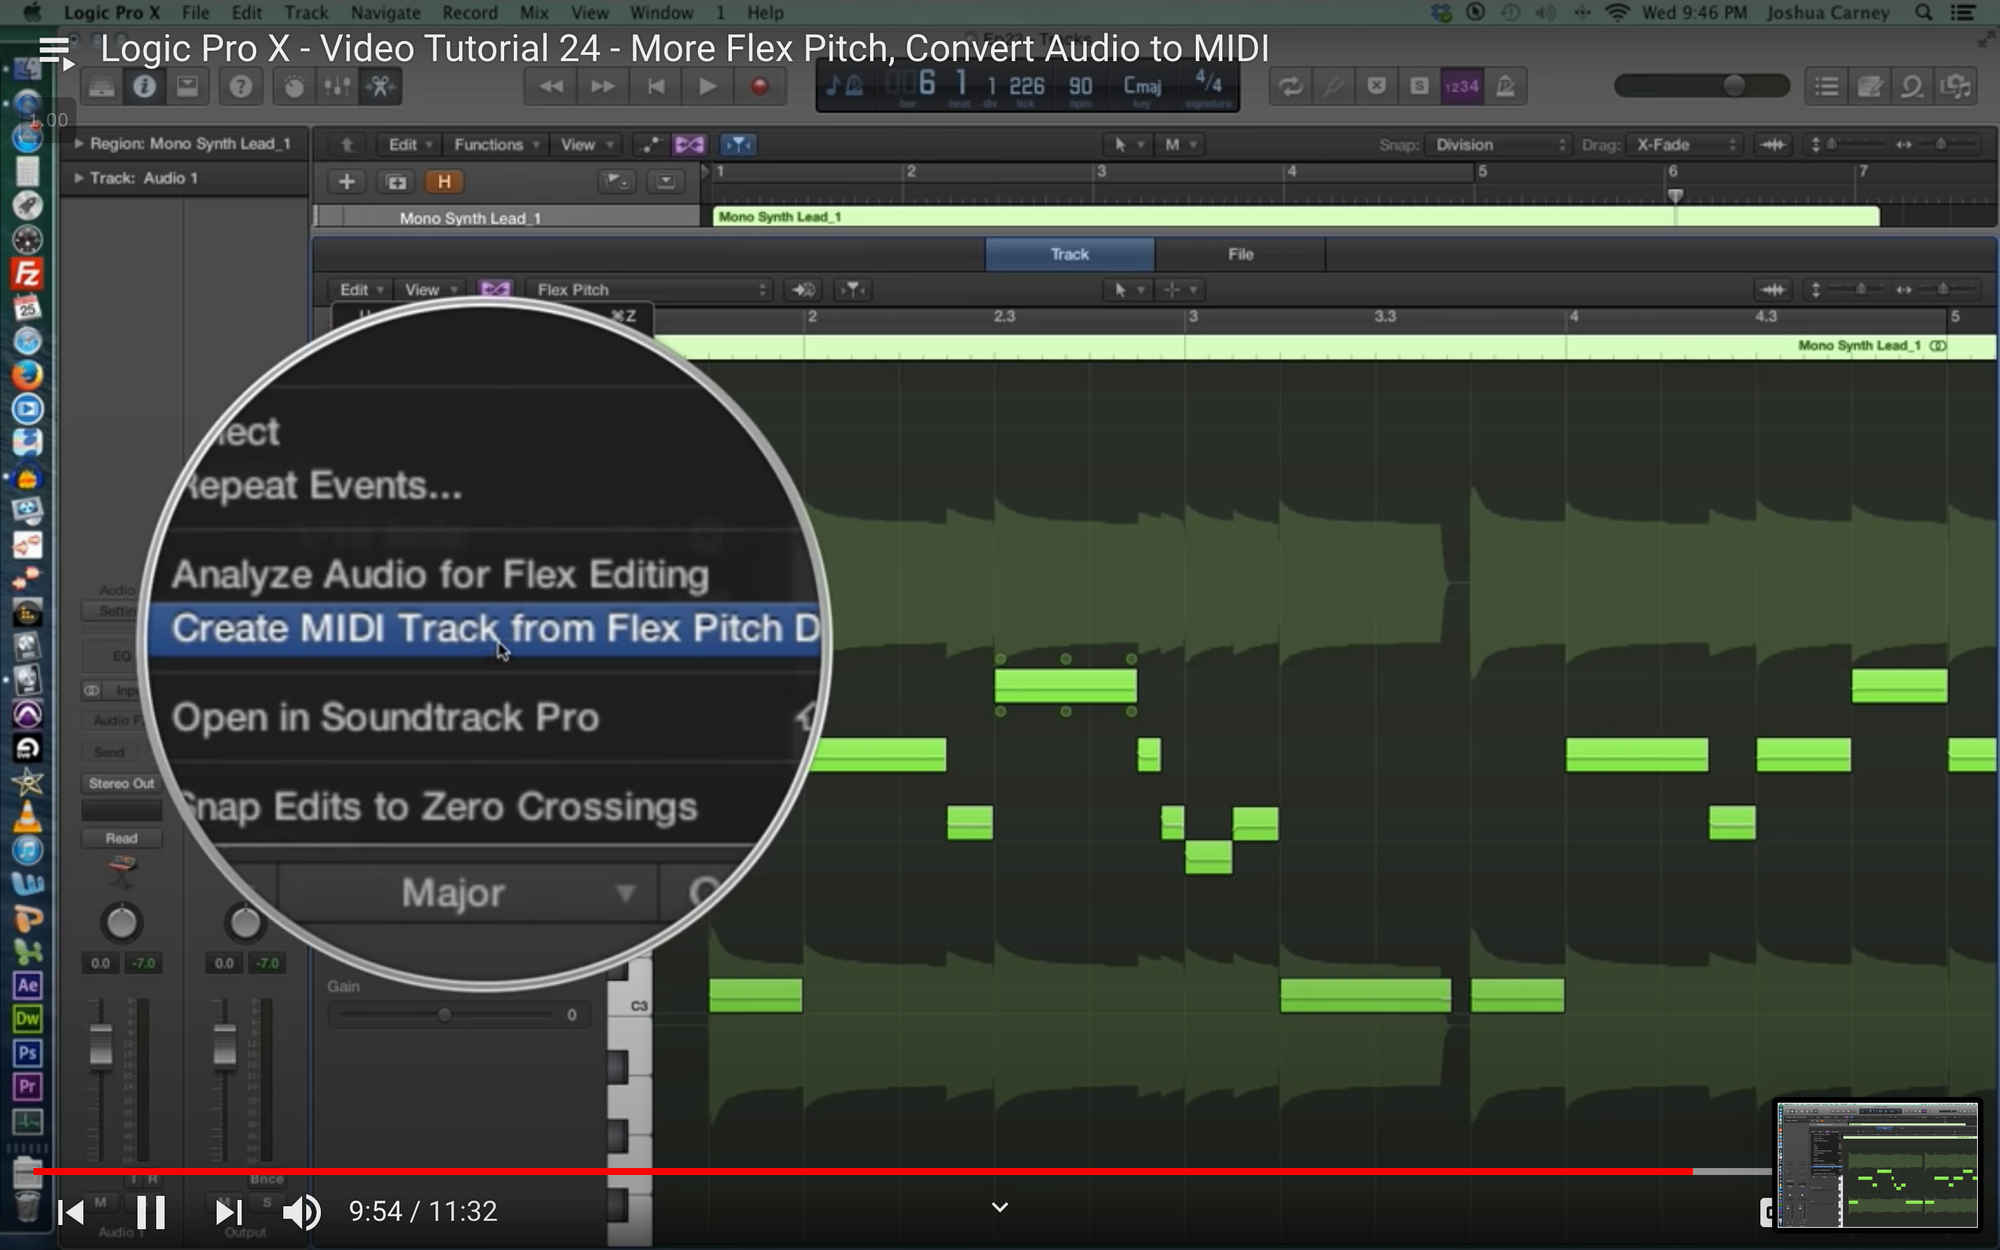
- Since flex pitch detects the notes, you can export the midi (works well for monophonic part, may not work for multiple voices / chords)
25 - Intro to Automation
Video 42 – Randomizer plugin
Title looks exciting, don't skip this video.